Krista's Herbarium
a collection of herbal remedies, recipes, and reveries
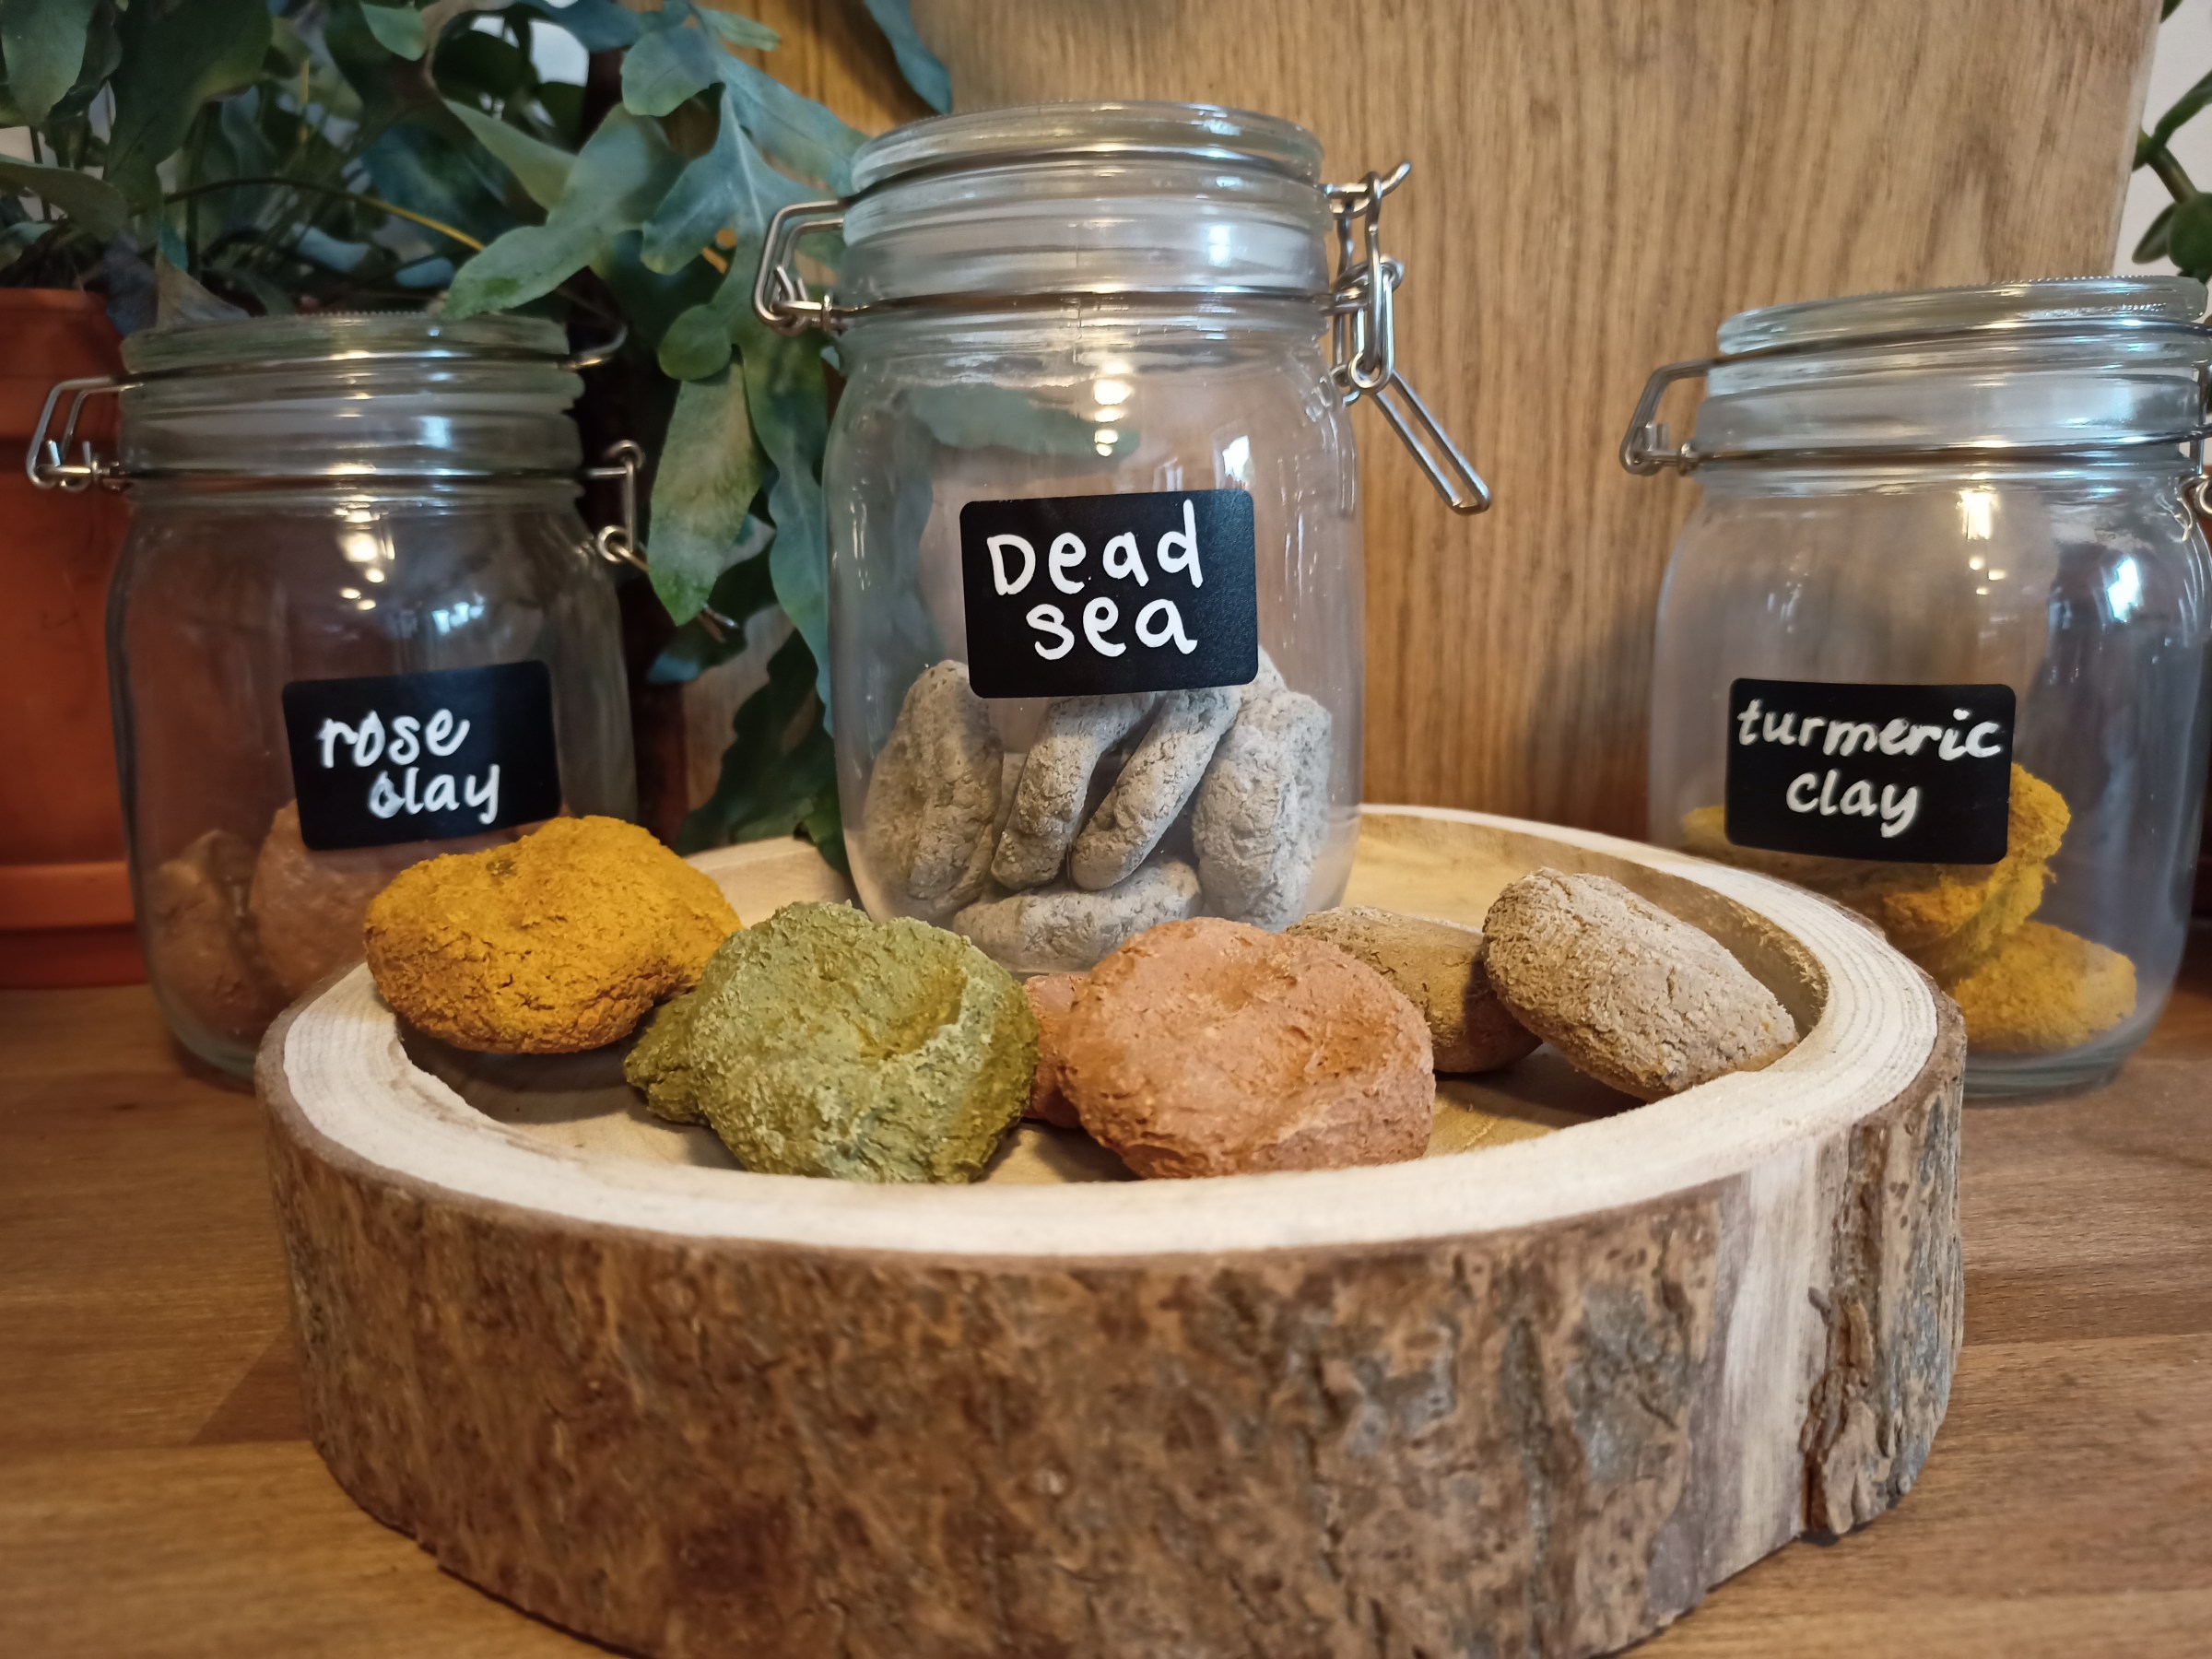
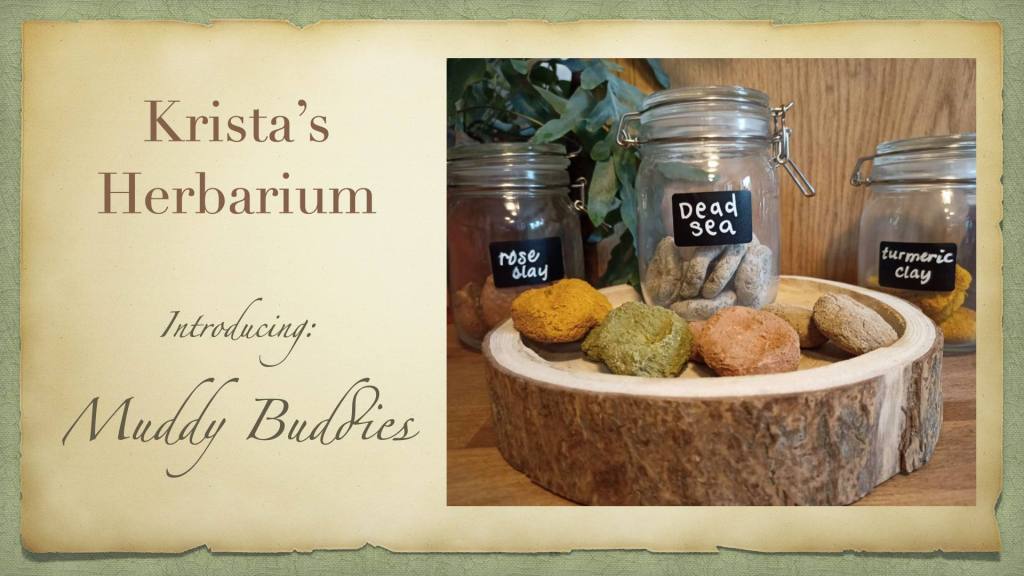
Muddy Buddies
Every time I want to clean my face, here’s how it goes: I squeeze some gel from a plastic bottle and wash my face. Then, I squeeze some face scrub out of a plastic tube and exfoliate my face. After my shower, I take out a moisturising cream from a plastic tub and smear some on my dried out skin (dried out from too many soap products). In total, I’ve used at least three products with three plastic containers and I’ve managed to harm my face in the process because I’ve dried out my skin with soap and chemicals, tried to replace that moisture ineffectively and failed to really clean my skin.
I searched for soap-free facial cleansing products that were all-natural, super cleansing and moisturising and which didn’t come in plastic packaging. Even better if there was no packaging at all.
All package-free facial cleansing bars that I found were still soap-based. So I decided to make my own.
Using the natural drawing power of clays which cleanse by drawing out toxins and dirt from the skin, mixed with the deep hydration of natural butters and oils, my skin is clean and moisturised for the whole day, not greasy and I find that no extra creams are necessary.
Muddy Buddies are amazing to me. I think they might be one of my favourite products that I make.
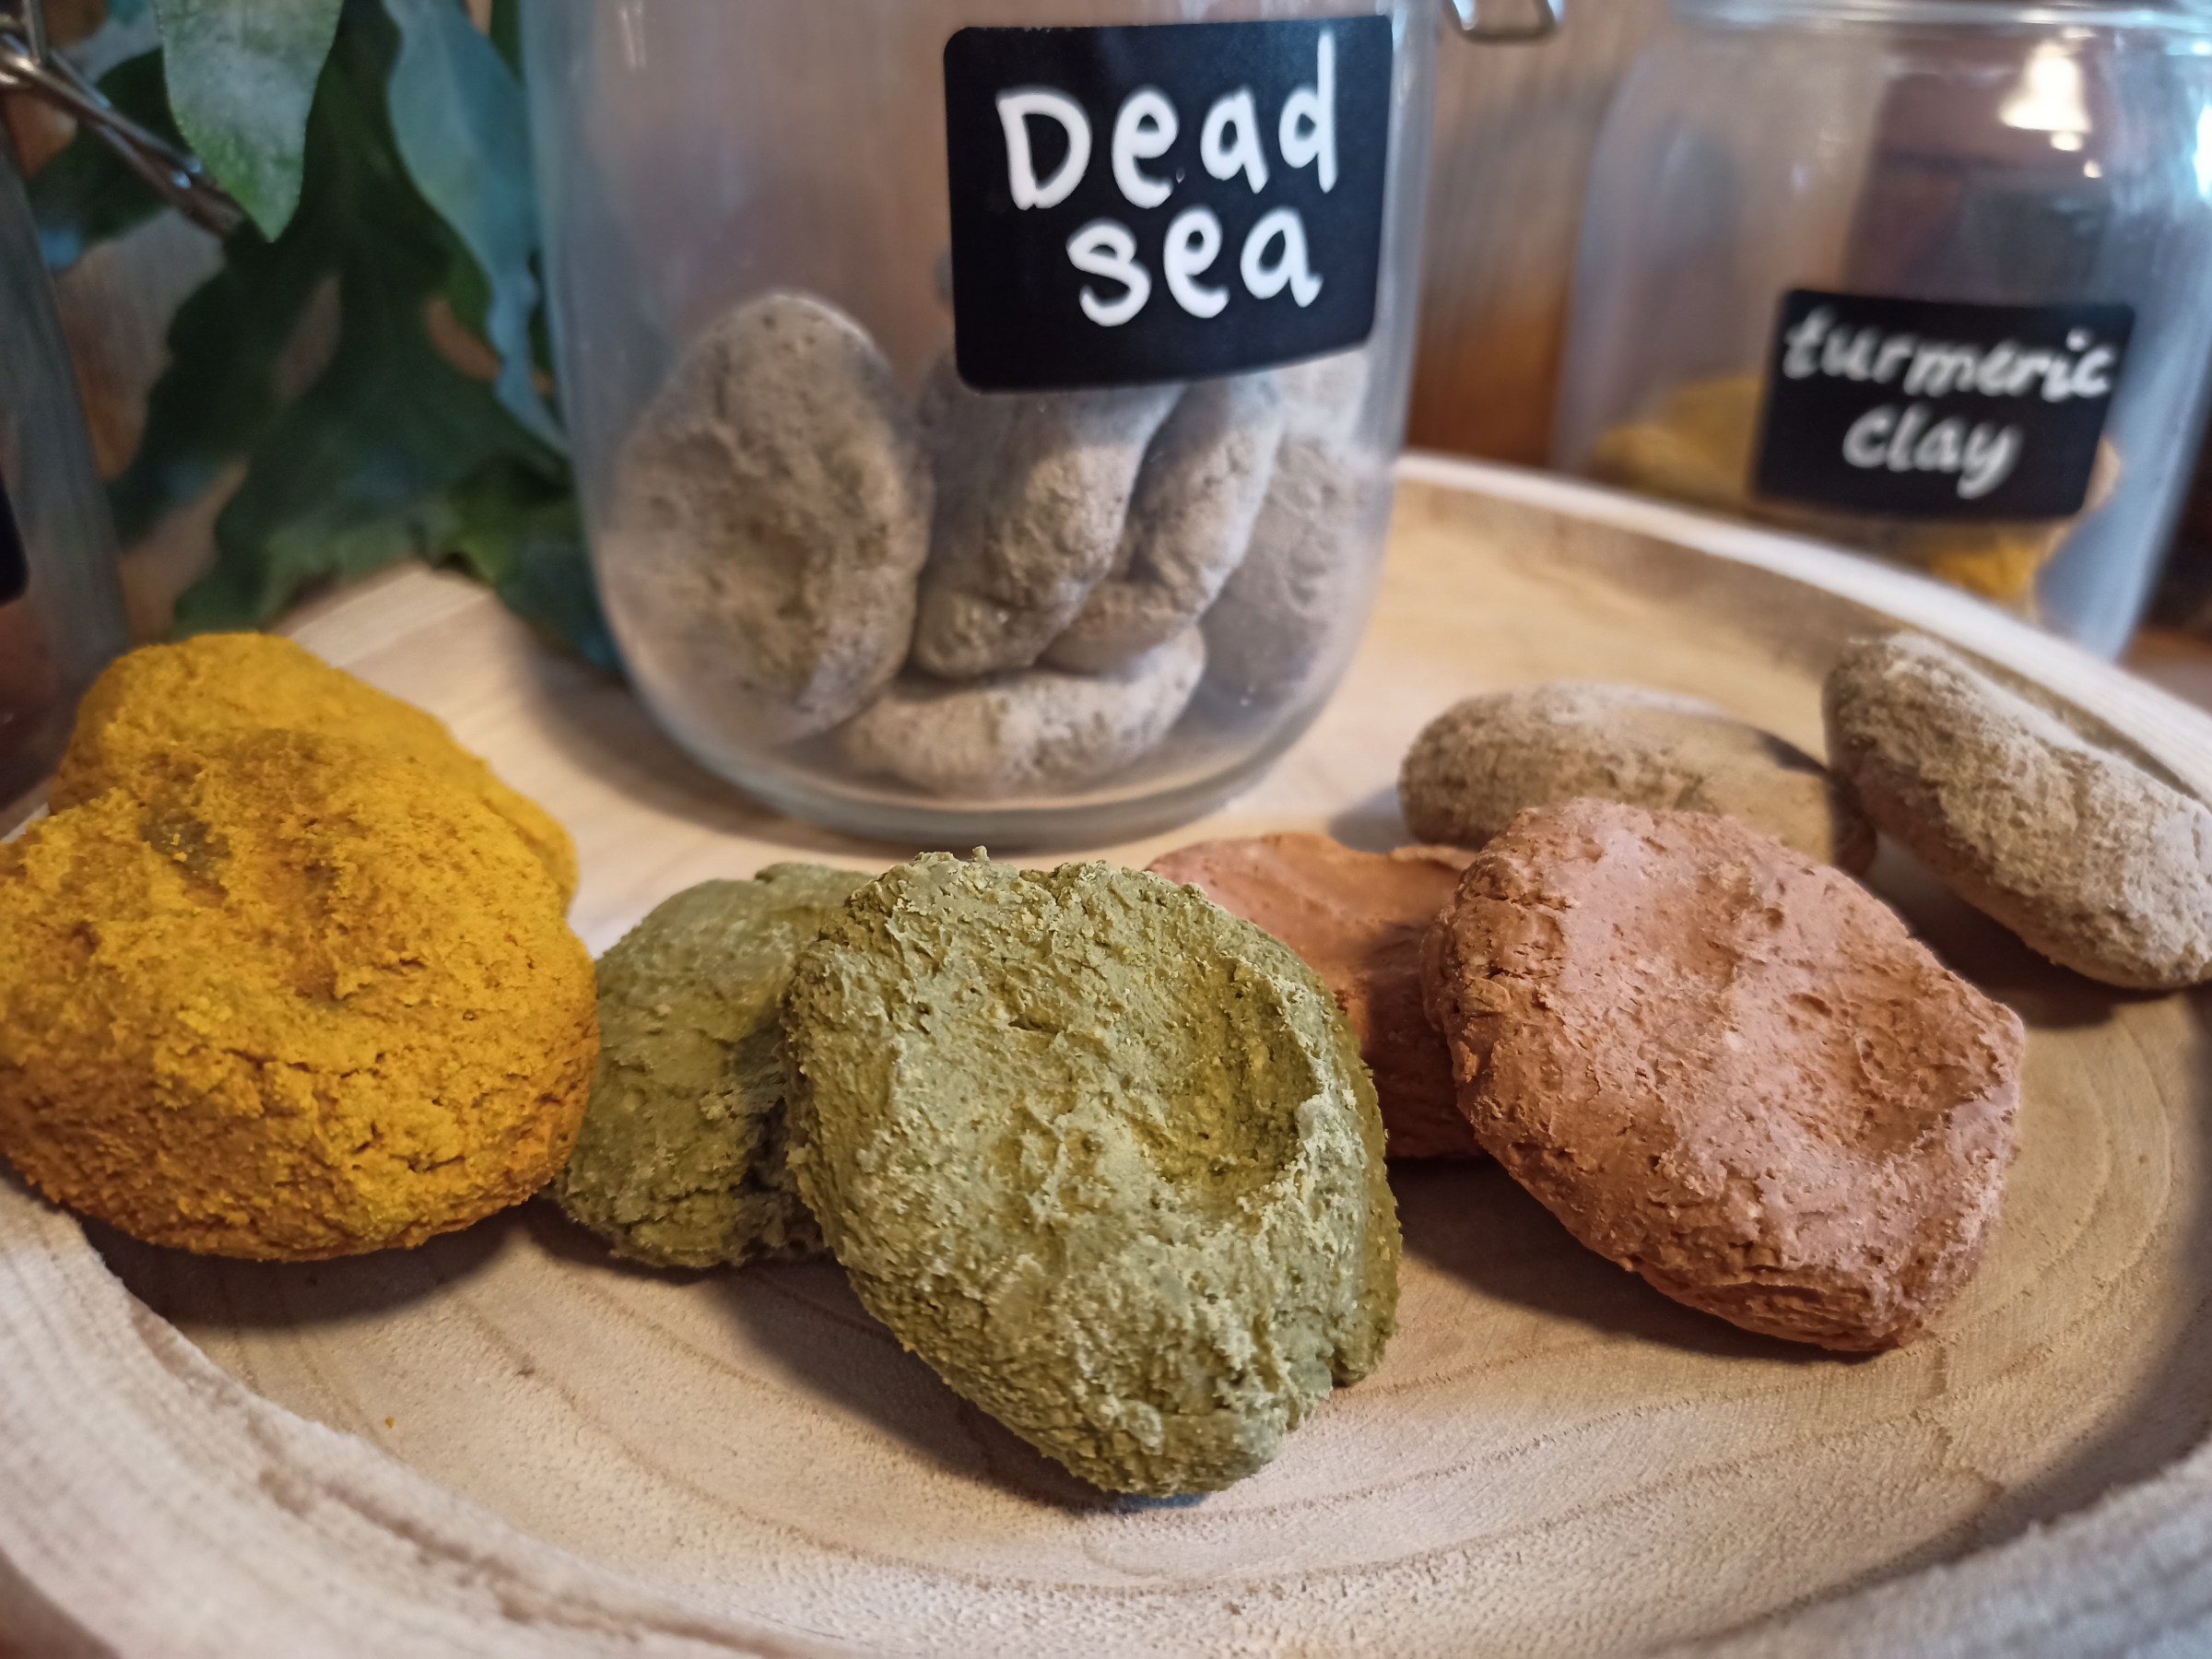
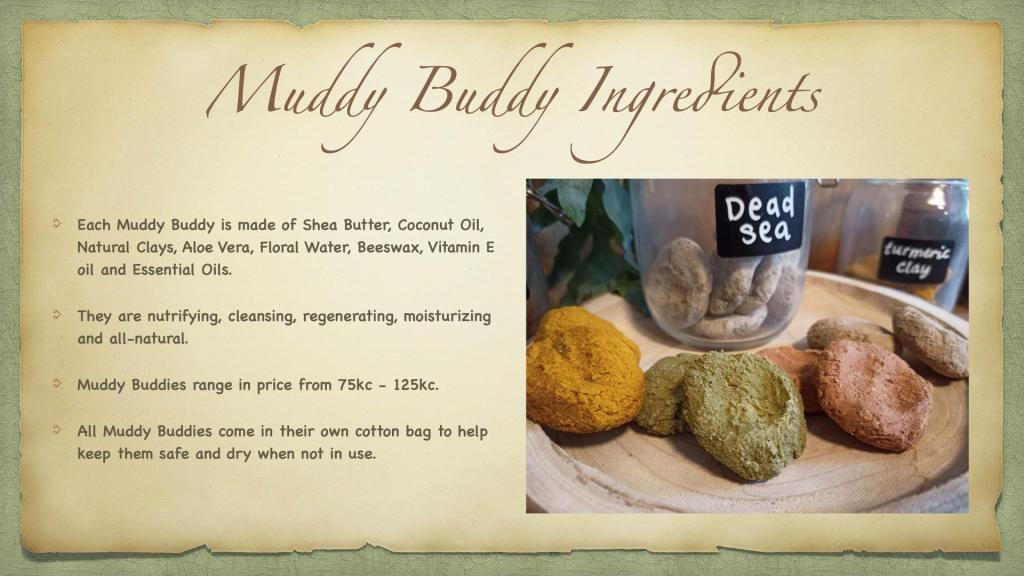
Each Muddy Buddy is made of Shea Butter, Coconut oil, Natural Clays, Aloe Vera, Floral Water, Beeswax, Vitamin E oil and Essential oils.They are nutrifying, cleansing, regenerating, moisturizing and all-natural, made from locally-sourced ingredients.
Different Muddy Buddies suit different skin types and conditions.
Here’s what all the cool kids are saying about Muddy Buddies:
How can I express my love for the Muddy Buddy? The rustic charm of this product is so appealing to all my senses! It is one of my favourite products and I have used mine so many times and I still have loads left!!!!! Genius product dearest Krista -Vicky
THE CLAY MASK IS OFF THE CHARTS! Last night my face felt like it was at a spa that I cannot afford! I rubbed it on my cheeks but then it was on my hand so I put the bar down and spread it with my hands around my face. I loved removing it with hot water and feeling cleansed yet deeply moisturized- Pamela
I use the muddy buddy every morning and night and my skin has become flawless. No pimples, no dryness, no discoloring. I highly recommend this product for anyone.-Dyami
What you need:
- 1/2 cup (100 g) Shea Butter
- 1/2 cup (100 g) Coconut Oil
- 2/3 cup (85 g) Kaolin Clay
- 2/3 cup (85 g) Natural Clay of your choice
- 1/4 cup (60 g) beeswax
- 1/2 cup (125 ml) medical grade Aloe Vera Juice
- 1/2 cup (125 ml) hydrosol of your choice
- 1 teaspoon Vitamin E oil
- 20 drops essential oil
Let’s get started:
In a double boiler (or a pot nestled in a larger pot filled with a bit of water) over medium heat, add the oils, butters and beeswax.
Stir until the beeswax and butters melt and are fully incorporated.
Whilst the butters and wax are melting, in a seperate bowl mix together the clays.
Add the essential oils, aloe juice, hydrosol and Vitamin E oil to the clays. Stir.
Remove the melted wax and butters from the heat. Add this liquid to the clay mixture.
Mix well until fully incorporated.
The mixture should be smooth, yet like wet clay.
Form the mixture into smooth cookie-sized patties (this will be messy) and put them on baking paper on a prepared baking tray.
Let them dry in a warm, dry area for 2-3 days. (I use a dehydrator on 35 degrees Celsius)

Krista’s Herbs Muddy Buddies Range
Rose Buddy: fragrant with soothing Damascus Rose, this natural Pink Clay cleanses and moisturizes all skin types gently.
Green Buddy: French Argyll clay detoxifies, cleanses and is gentle on damaged and troubled skin. Tea Tree and Red Thyme oils deeply cleanse and purify.
Moroccan Buddy: Rhassouli clay cleanses mature skin while deeply moisturizing and protecting. Geranium oil regenerates skin.
Turmeric Buddy: Turmeric and Apple Cider Vinegar, along with Clary Sage help decrease brown spots, dark patches and under eye circles.
Dead Sea Buddy: Dead Sea Mud cleanses deeply while giving vital minerals and hydration back to worn out skin.
Pure Buddy: Kaolin and Bentonite Clays along with Shea and Avocado butters cleanses and moisturizes without any fragrance. Aloe Vera water is deeply hydrating.
Calm Buddy: Kaolin clay with Chamomile hydrosol and Blue Chamomile essential oil soothes and calms irritated and sensitive skin.
Scrubby Buddy: Pink Clay cleanses, Shea Butter soothes and moisturises whilst ground strawberry seeds gently exfoliate all skin types.
Kid Buddy: Fun to use and fragrant with lavender, this natural French Purple Clay Buddy gives a chance for kids to enjoy a skin care routine.

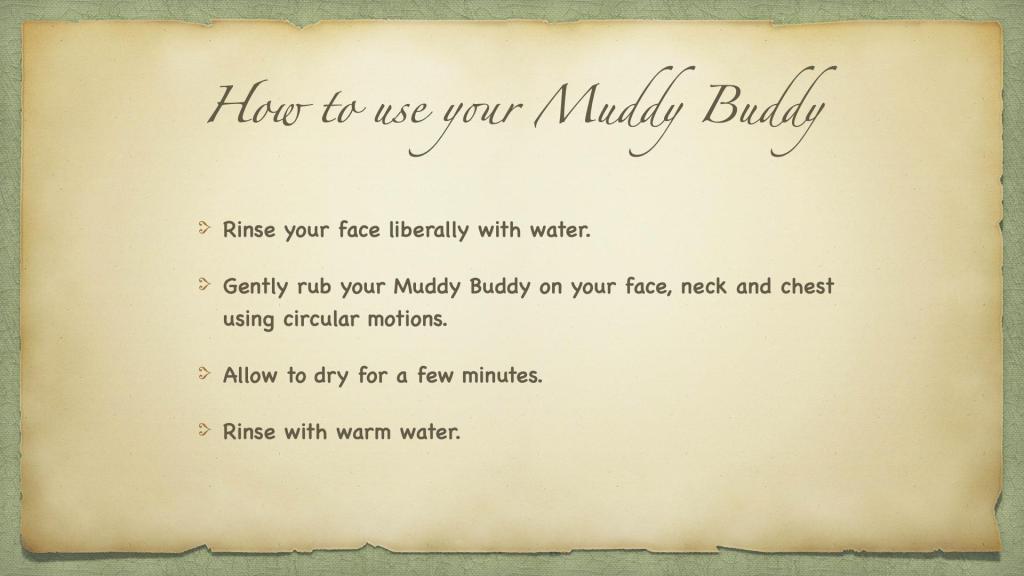
How to use your Muddy Buddy:
- Rinse your face liberally with water.
- Gently rub your Muddy Buddy on your face, neck and chest using circular motions.
- Allow to dry for a few minutes.
- Rinse with warm water.
- Keep your Buddy in its cloth sack to stay safe and dry.
Herbal Deodorant
I am on a challenging quest, and it is two-fold: to replace my current health and beauty products by making them myself with natural, responsibly-sourced plant materials AND to reduce the amount of single-use plastic that comes into my house.
My dream would be that my workshop would be a place where people would come and get their facial bars, shampoo bars, herbal soap concentrates, refill their deodorants and cleaning sprays and grind their grains into flour or perhaps make oils that they need. This already functions at my herbarium on a small community scale, but I see this as a service that more people could benefit from.
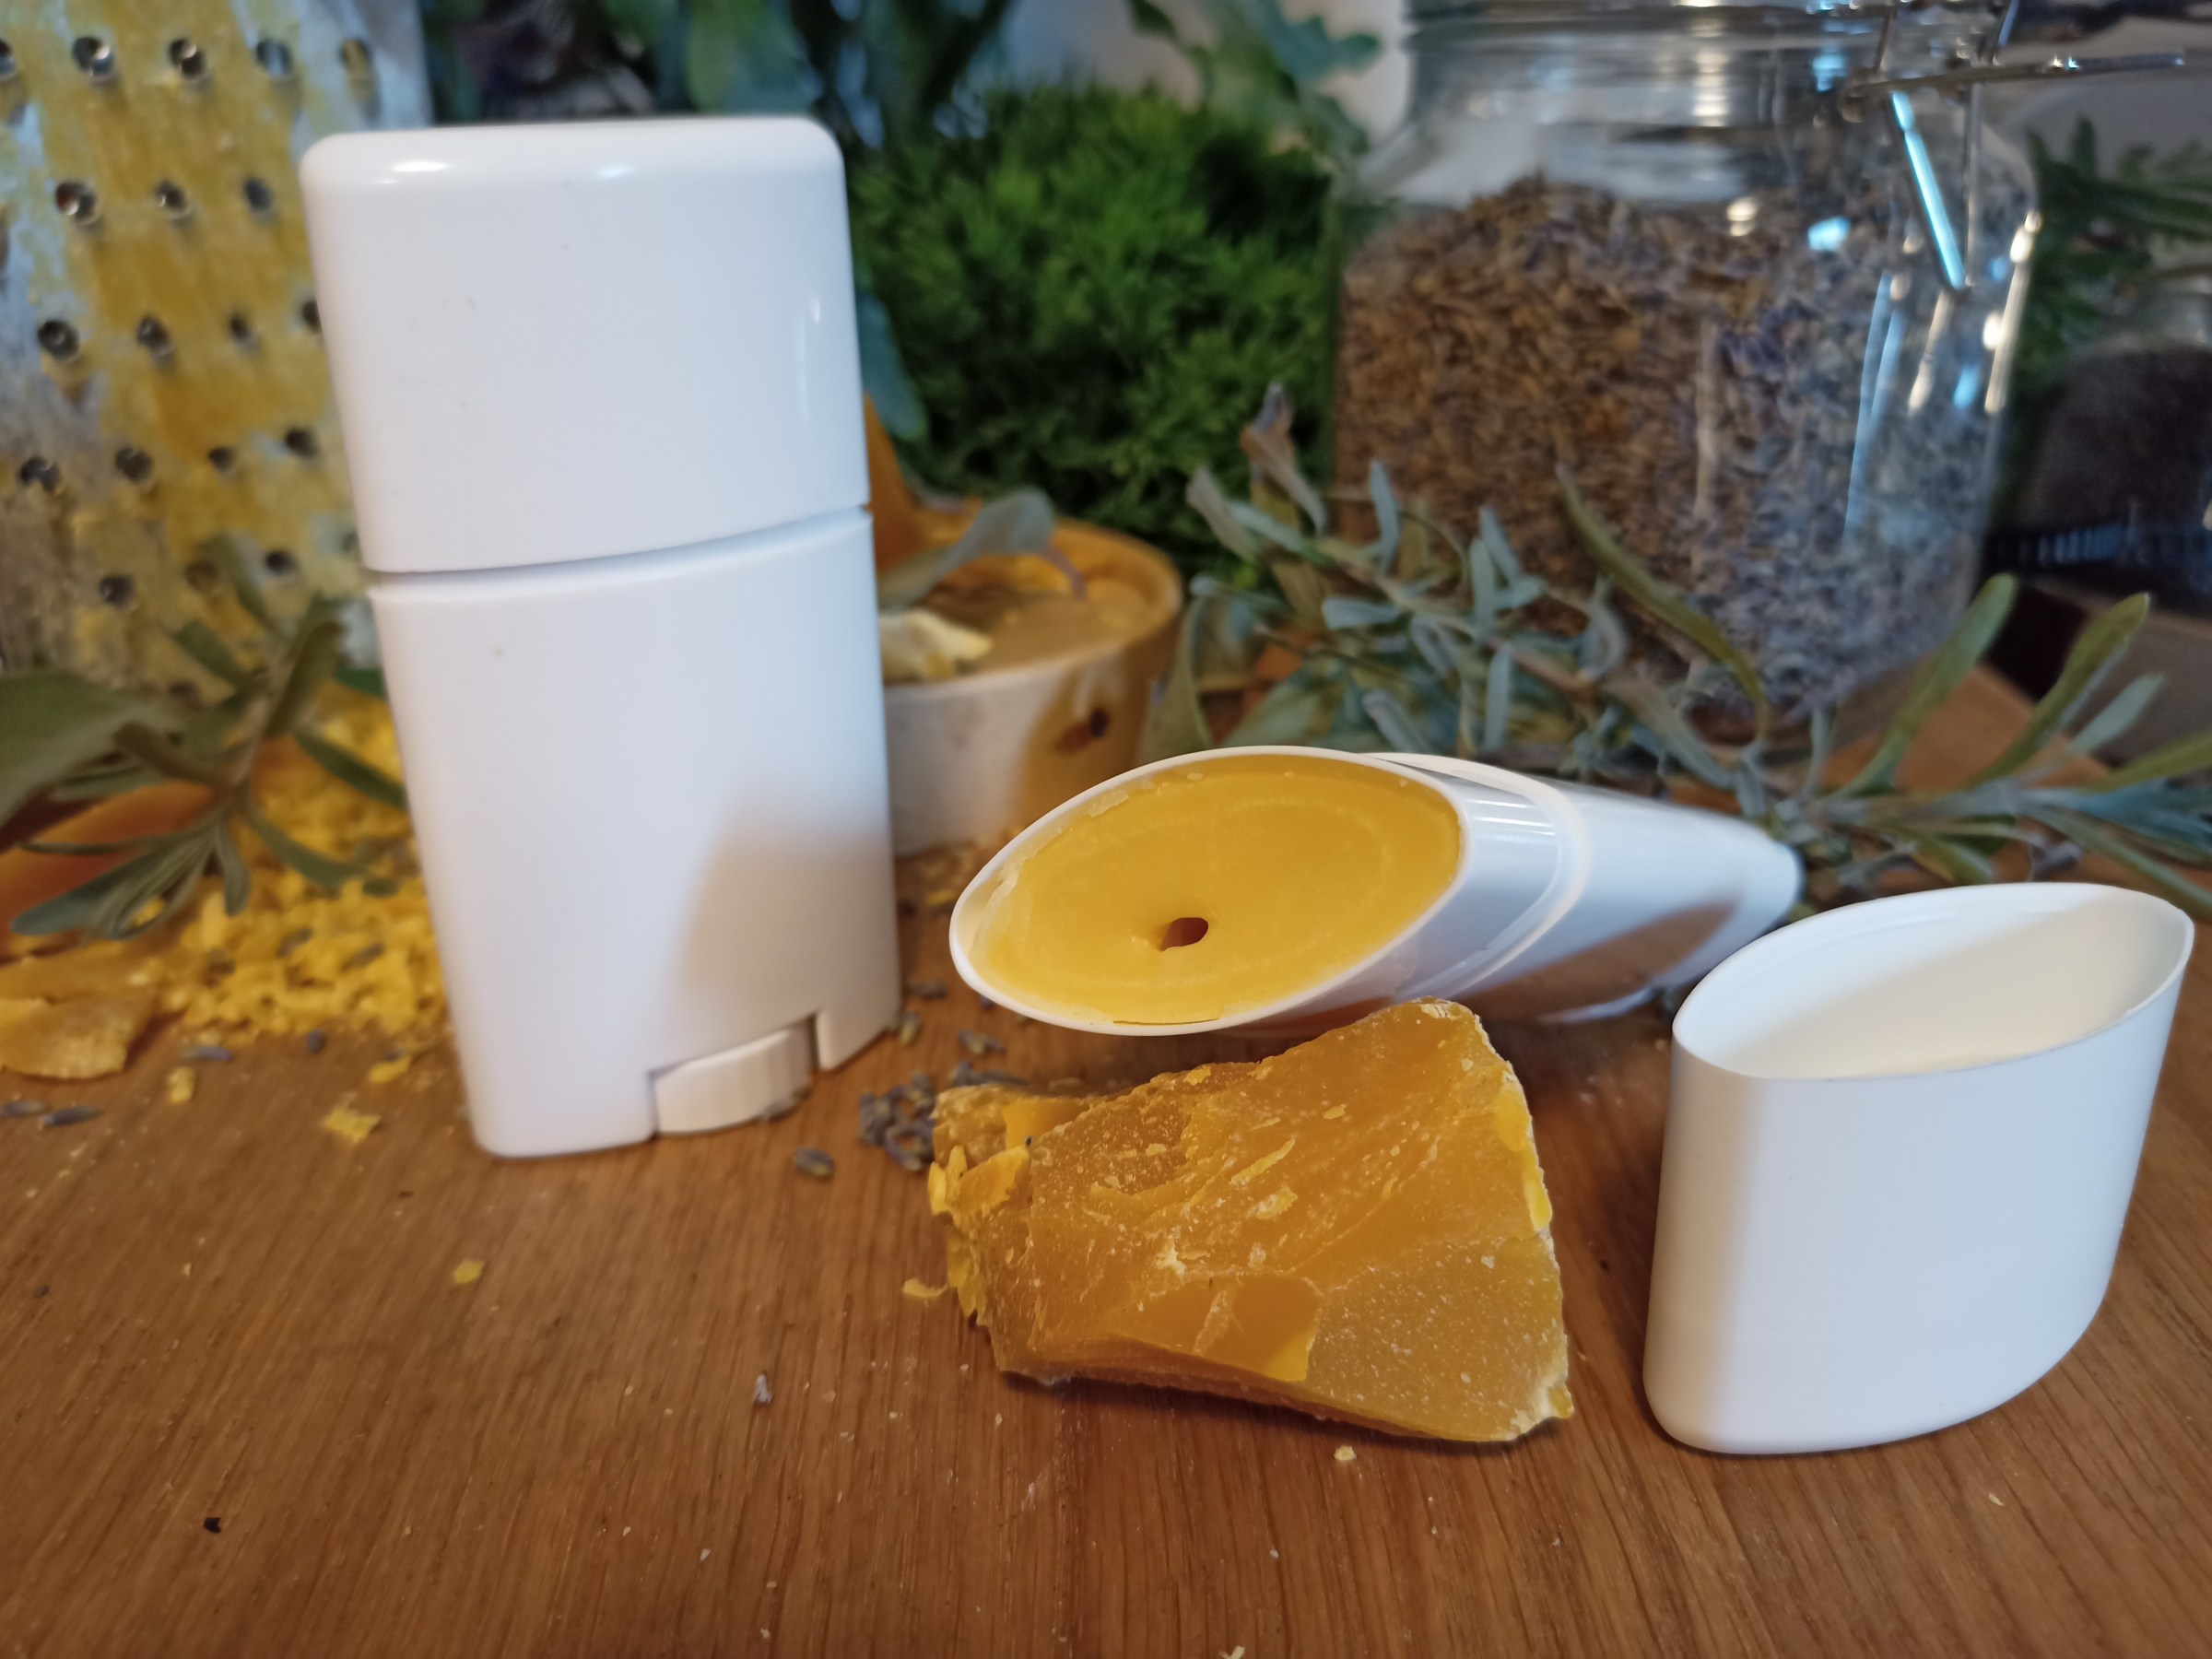
So, little by little, step by step, I am pushing forward to realize this dream. Here is my next piece of the puzzle: Krista’s Herbs Herbal Deodorant.
For right now, it is in a plastic, refillable deodorant tube. My next step will be to make the deodorant in a small glass jar so that it can be applied with your fingertips. I’m curious how many of you would be willing to take that big leap from a normal store-bought deodorant to a natural one that you apply with your fingers? Please let me know. I’d like to start working on it right away!
This deodorant is easily applied, smells great and works well. It is suuuuuper good for your skin and is easily refillable.
A small anecdote: I am currently in hospital (more on that in a later post) and all of us on my ward played ping-pong yesterday for an hour. It was quite vibrant and my herbal deo didn’t let me down.
My recipe is made with sustainably-resourced plant materials, beeswax from our village beekeeper, locally made essential oils and butters and loads of good intentions and love!
What you need:
- 1/2 cup (120 g) Mango Butter
- 1/2 cup (105 g) Coconut oil
- 1/2 cup (110 g) Beeswax
- 1 cup (120g) Arrowroot powder
- 1 teaspoon Vitamin E oil
- 20-30 drops essential oil
Let’s get started:
In a double boiler (or a pot nestled in a larger pot filled with a bit of water) over medium heat, add the oils, butters and beeswax.
Stir until the beeswax and butters melt and are fully incorporated.
Remove from the heat.
Add the essential oils, and Vitamin E oil. Stir.
Add in the arrowroot powder. Mix well untill fully incorporated.
Pour into clean deodorant containers.
Recipe fills 4 deodorant tubes

Krista’s Herbs Deodorant Range
Herbal Deodorant: This one is the most effective if you are exercising or off on a busy day and want to feel fresh all day
Recipe: 10 drops each of rosemary, lavender and sage
Citrus Deodorant: This one smells like lemon meringue pie!
Recipe:15 drops each of yuzu (or lemon) and lemon verbena
Pure Deodorant: I made one with no scent for those who prefer fragrance-free products
Recipe: replace mango butter with avocado butter and do not add any essential oils
Perfume 201
“Nothing brings to life again a forgotten memory like fragrance.”
Christopher Poindexter
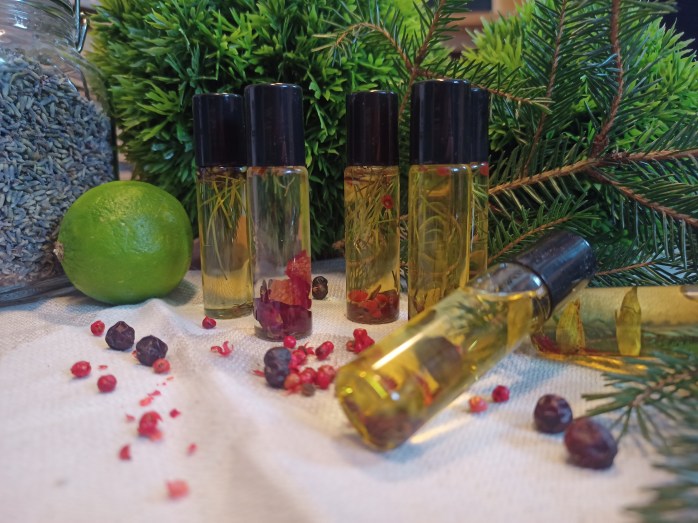
I gave a small eulogy at my Nana’s memorial service. I talked about a sense memory that has never left me though it is over 40 years old. Whenever I smell freshly squeezed orange juice, I am instantly transported to my Nana’s breakfast nook, I am 4 or 5 years old and she is serving me breakfast, as always with a small juice glass of orange juice. One of those juice glasses from the 70’s that had the brown and orange dots or stripes on them. Do you remember those?

Scent is so powerful. For each of us there is some scent that resonates with us so deeply, as a memory, as a spiritual or sacred connection, as a communication with a loved one here or gone, or as part of our healing path. Instinctively, we know we are somehow connected to this scent, or need to be connected to this scent. It is sometimes said in herbal writings that if a plant smells foul to you, it may be that that plant won’t work for you. The opposite being also true, that if a plant smells good to you, it is possible that it may be a good match for you. The sense of smell should be taken into consideration on your healing herbal journey.
Essential oils by scent:
Citrus: bright and cheerful scents to energize and perk you up
- Bergamot
- Sweet Orange
- Grapefruit
- Lemon
- Lime
- Mandarin
- Yuzu
Floral: floral essential oils are evocative and transport one to gardens of childhood
- Neroli
- Rose
- Jasmine
- Ylang Ylang
- Chamomile
- Geranium
- Petit grain
Herbal: fresh and healing, they invigorate, calm and improve focus
- Rosemary
- Peppermint
- Lavender
- Eucalyptus
- Sage
- Yarrow
- Basil
Spicy: sensual and warming, a little goes a long way with these
- Clove bud
- Cinnamon
- Ginger
- Patchouli
- Vanilla
- Nutmeg
- Cardamom
- Fennel
- Black/Pink Pepper
- Terragon
- Licorice fennel
- Anise
Woodsy: earthy scents that are grounding, strengthening and balancing
- Cedarwood
- Sandalwood
- Juniper
- Pine
- Vetiver
- Spruce
- Bay
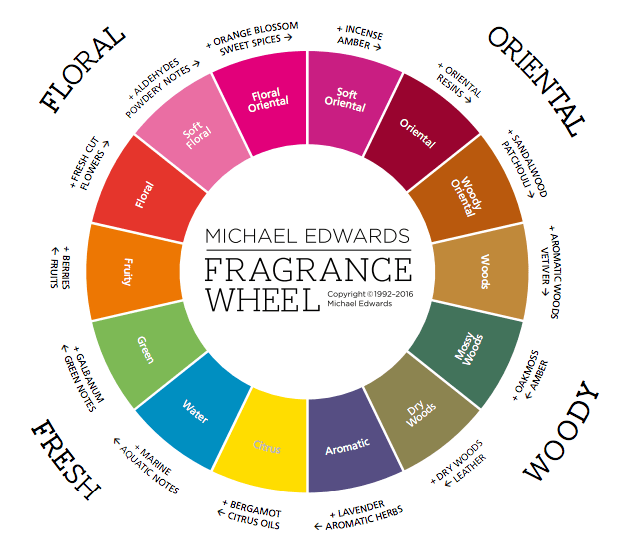
Michael Edwards’ Fragrance Wheel
This fragrance wheel by renowned fragrance expert Michael Edwards can help you organise scents into categories and keep the information clear.

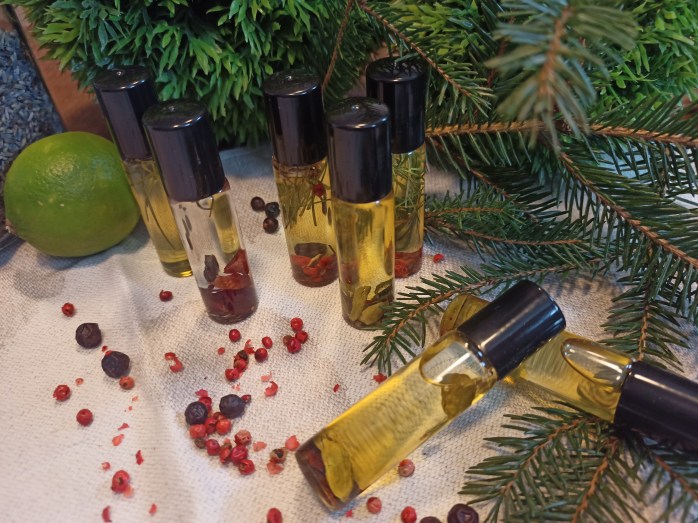
Krista’s Herbs Spring Scents
Recipes:
Bright– 2 drops bergamot, 4 drops sweet orange, 1 drop grapefruit, 3 drops rosemary
Sweet– 2 drops neroli, 6 drops Damascus rose, 2 drops ylang ylang
Grassy– 3 drops rosemary, 2 drops mint, 4 drops lavender
Sensual– 3 drops cardamom, 2 drops cinnamon, 1 drop clove, 5 drops patchouli
Earthy– 3 drops patchouli, 4 drops hinoki wood, 1 drop vanilla, 2 drops cedar
Forest– 1 drop mint, 2 drops rosemary, 2 drops lemon, 2 drops sage, 6 drops pine
Heaven– 2 drops lemon, 3 drops lime, 5 drops vanilla
Resources for scents:
A year of soaps: spring
One day, I would love to make soap from scratch. You know, get out the lye, the safety goggles and the industrial gloves and get to work. But I have so many projects going right now that soap making from scratch is on the back burner, as is making my own essential oils in a copper distiller…..sigh….
For right now, I use a much simpler method for soap making. Using ready made soap bases allows for anyone to make soap anywhere and anytime you like. I appreciate that I can still come up with amazing recipes for soaps with zero stress.
I buy my soap bases at ekokoza, but they are also available on Amazon. These melt and pour bases are available in a wide varitey of types and they are super easy to work with.
This season’s soaps are full of hopes for spring gardening, for when the blossoms start to pop out and the bees again buzz around. I spent the day in my workshop just adding things to these soaps that came to mind and I really like how they turned out.
My absolute favourite from these is the Green Tea-Hinoki soap. The scent comes alive in warm water and I find that I am using it exclusively now. I will make a few batches just for myself, I think.
Let’s get started:
This recipe will make 12-15 soaps depending on your mold shape and size. I use a common silicone muffin mold for some of mine and a proper silicone soap bar mold for others. It really depends on you and your taste and access to materials. I started with the muffin mold because it was what I had at the time. This is so cool that you can use what you have in the kitchen and not have to buy many extra things.
I try to steer clear of molds that are small, seperate ones for individual soaps. I find them too fiddly and inefficient for large batches.
You will need:
- 1 kg of melt and pour soap base
- 2-3 T of infused oil of your choice (Olive oil can be used here)
- 30 g beeswax (I use this so the soap will last longer in the shower)
- 30-50 drops essential oils of your choice
- plant material that you would like to embed in your soap
Step by step:
- Prepare a bain marie (water bath) on a medium setting
- Cut up the soap base into small chunks (the smaller the faster they will melt)
- Add the beeswax and any infused oils you would like
- Stir until completely melted and all components are incorporated
- Once melted completely, you must act quickly….
- Add the essential oils and mix well
- Pour into prepared molds
- Once cooled, pop them out and let them properly dry and harden overnight before you package them in any way
How to prepare your molds:
Silicone molds need no perparation save for whatever plant material you would like to add to your soaps. If you would like plant material only floating at the top of your soap, put the material in the bottom of the mold before you pour in the soap. If you would like plant material running throughout the soap, you must pour in the soap and add the material to each mold after the soap is already in, slowly stirring while it is cooling so that it is evenly distributed. If you would like to add material to the soap only as decoration, simply sprinkle it on directly after pouring the soap into the molds.
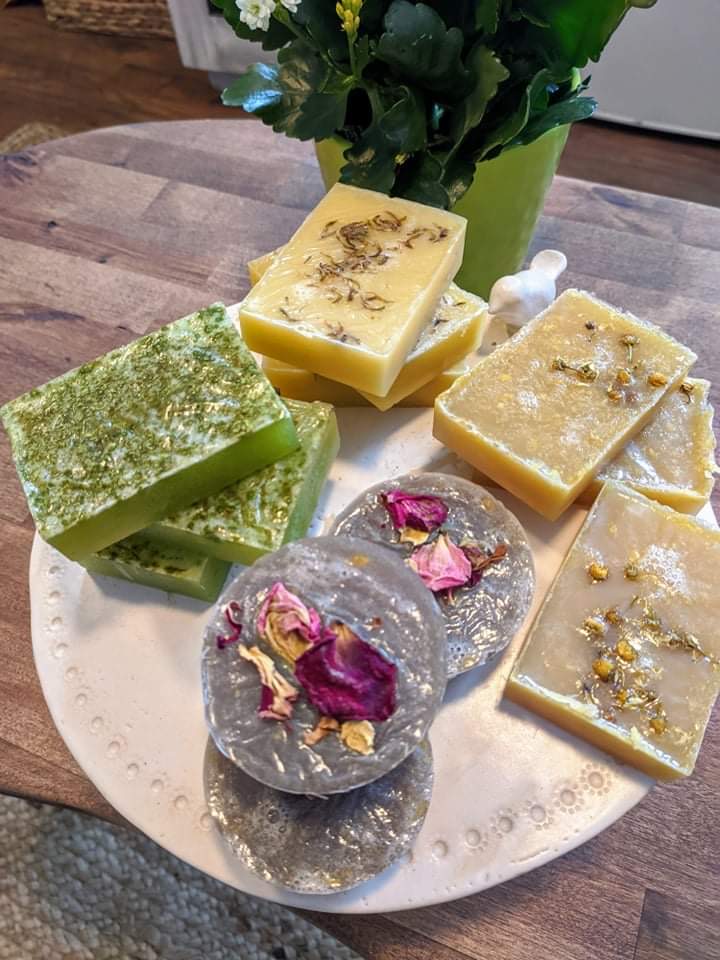
Krista’s Herbs Spring Soap Collection:
Honey-Beeswax-Chamomile-Vitamin E Oil

Recipe:
- 1 kg honey soap base
- 5 T organic honey
- 3 T chamomile-infused almond oil
- 30 g beeswax
- 1 t Vit E oil
- 30 drops blue chamomile essential oil
Green Tea-Chlorella-Hinoki Wood
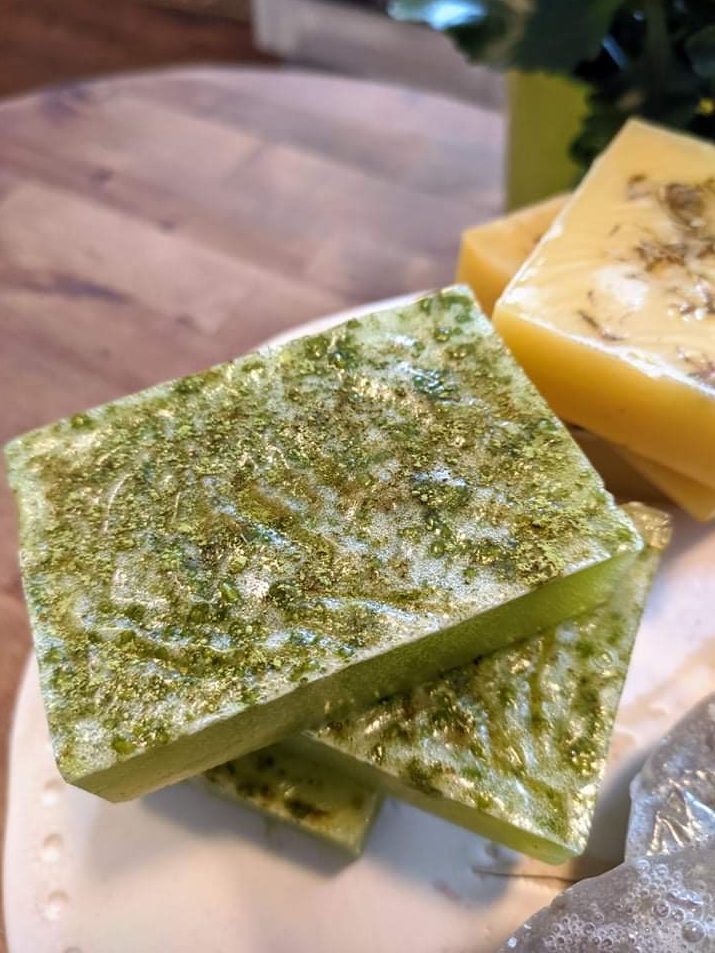
- 1 kg organic soap base
- 2 T green tea oil
- 2 T chlorella powder
- 30 g beeswax
- 2 T matcha powder
- 30 drops hinoki wood essential oil
Rose Oil-Alkanet-Geranium
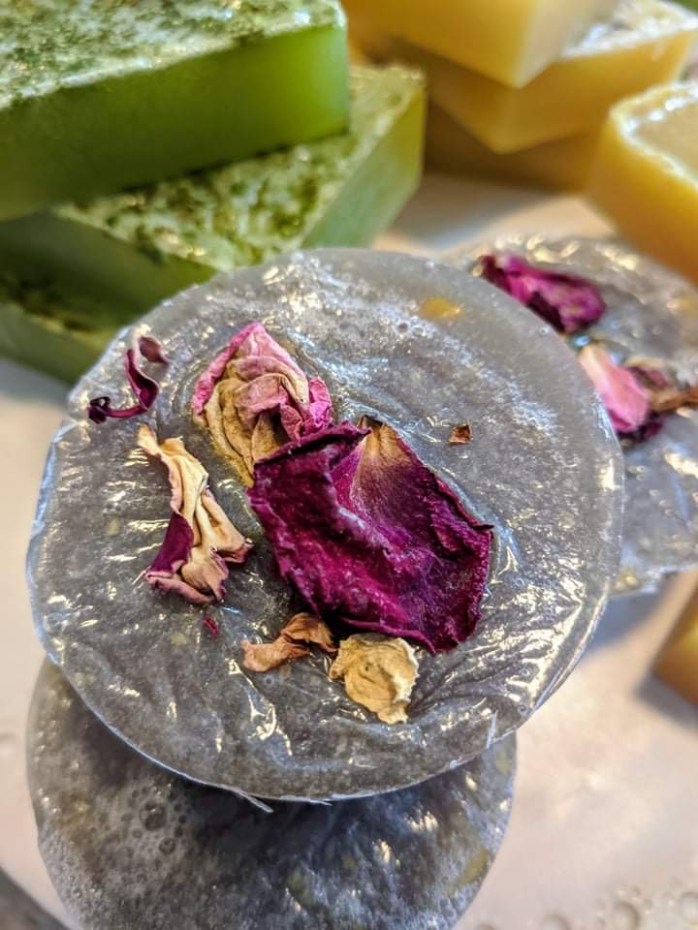
- 1 kg organic soap base
- 3 T rose-infused almond oil
- 2 T alkanet-infused almond oil
- 30 g beeswax
- 30 drops geranium essential oil
Honey-Rosemary-Red Clover-Vitamin E Oil

- 1 kg honey soap base
- 3 T red clover-infused almond oil
- 1 T rosemary-infused olive oil
- 30 g beeswax
- 1 t Vit E oil
- 30 drops rosemary essential oil
Perfume 101
“Perfume is the nourishment that stimulates my thinking.
”
Muhammad
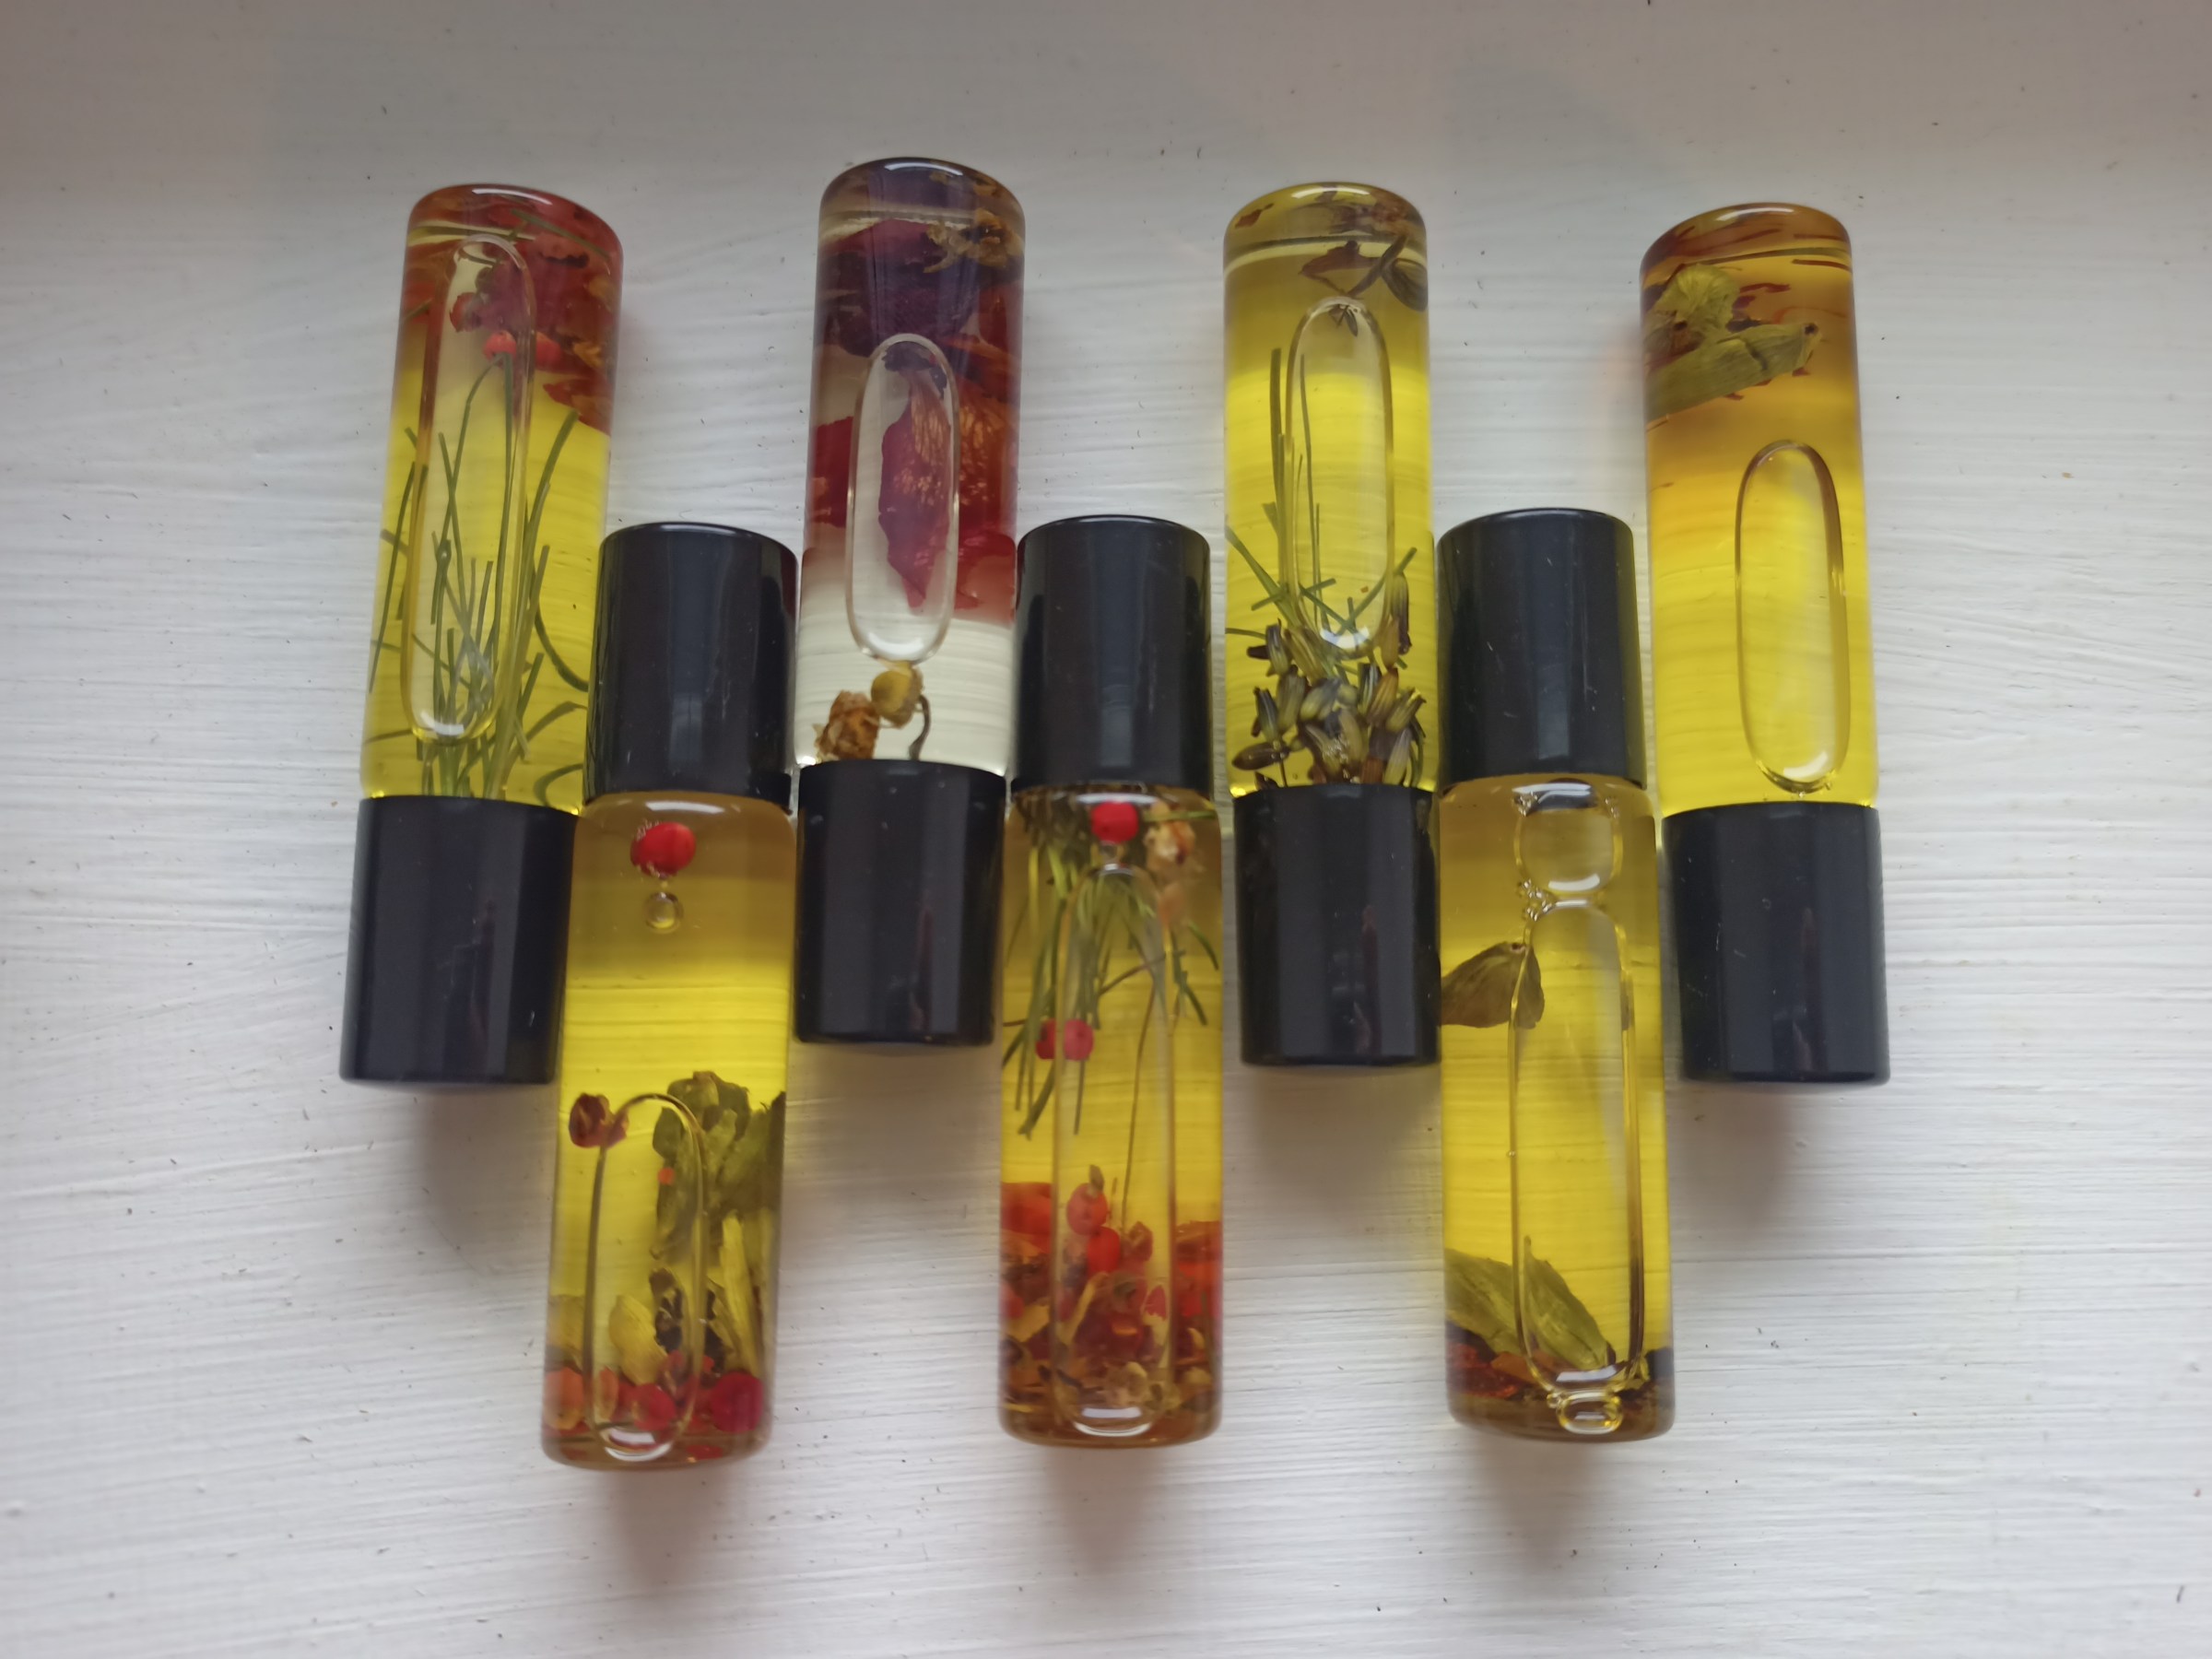
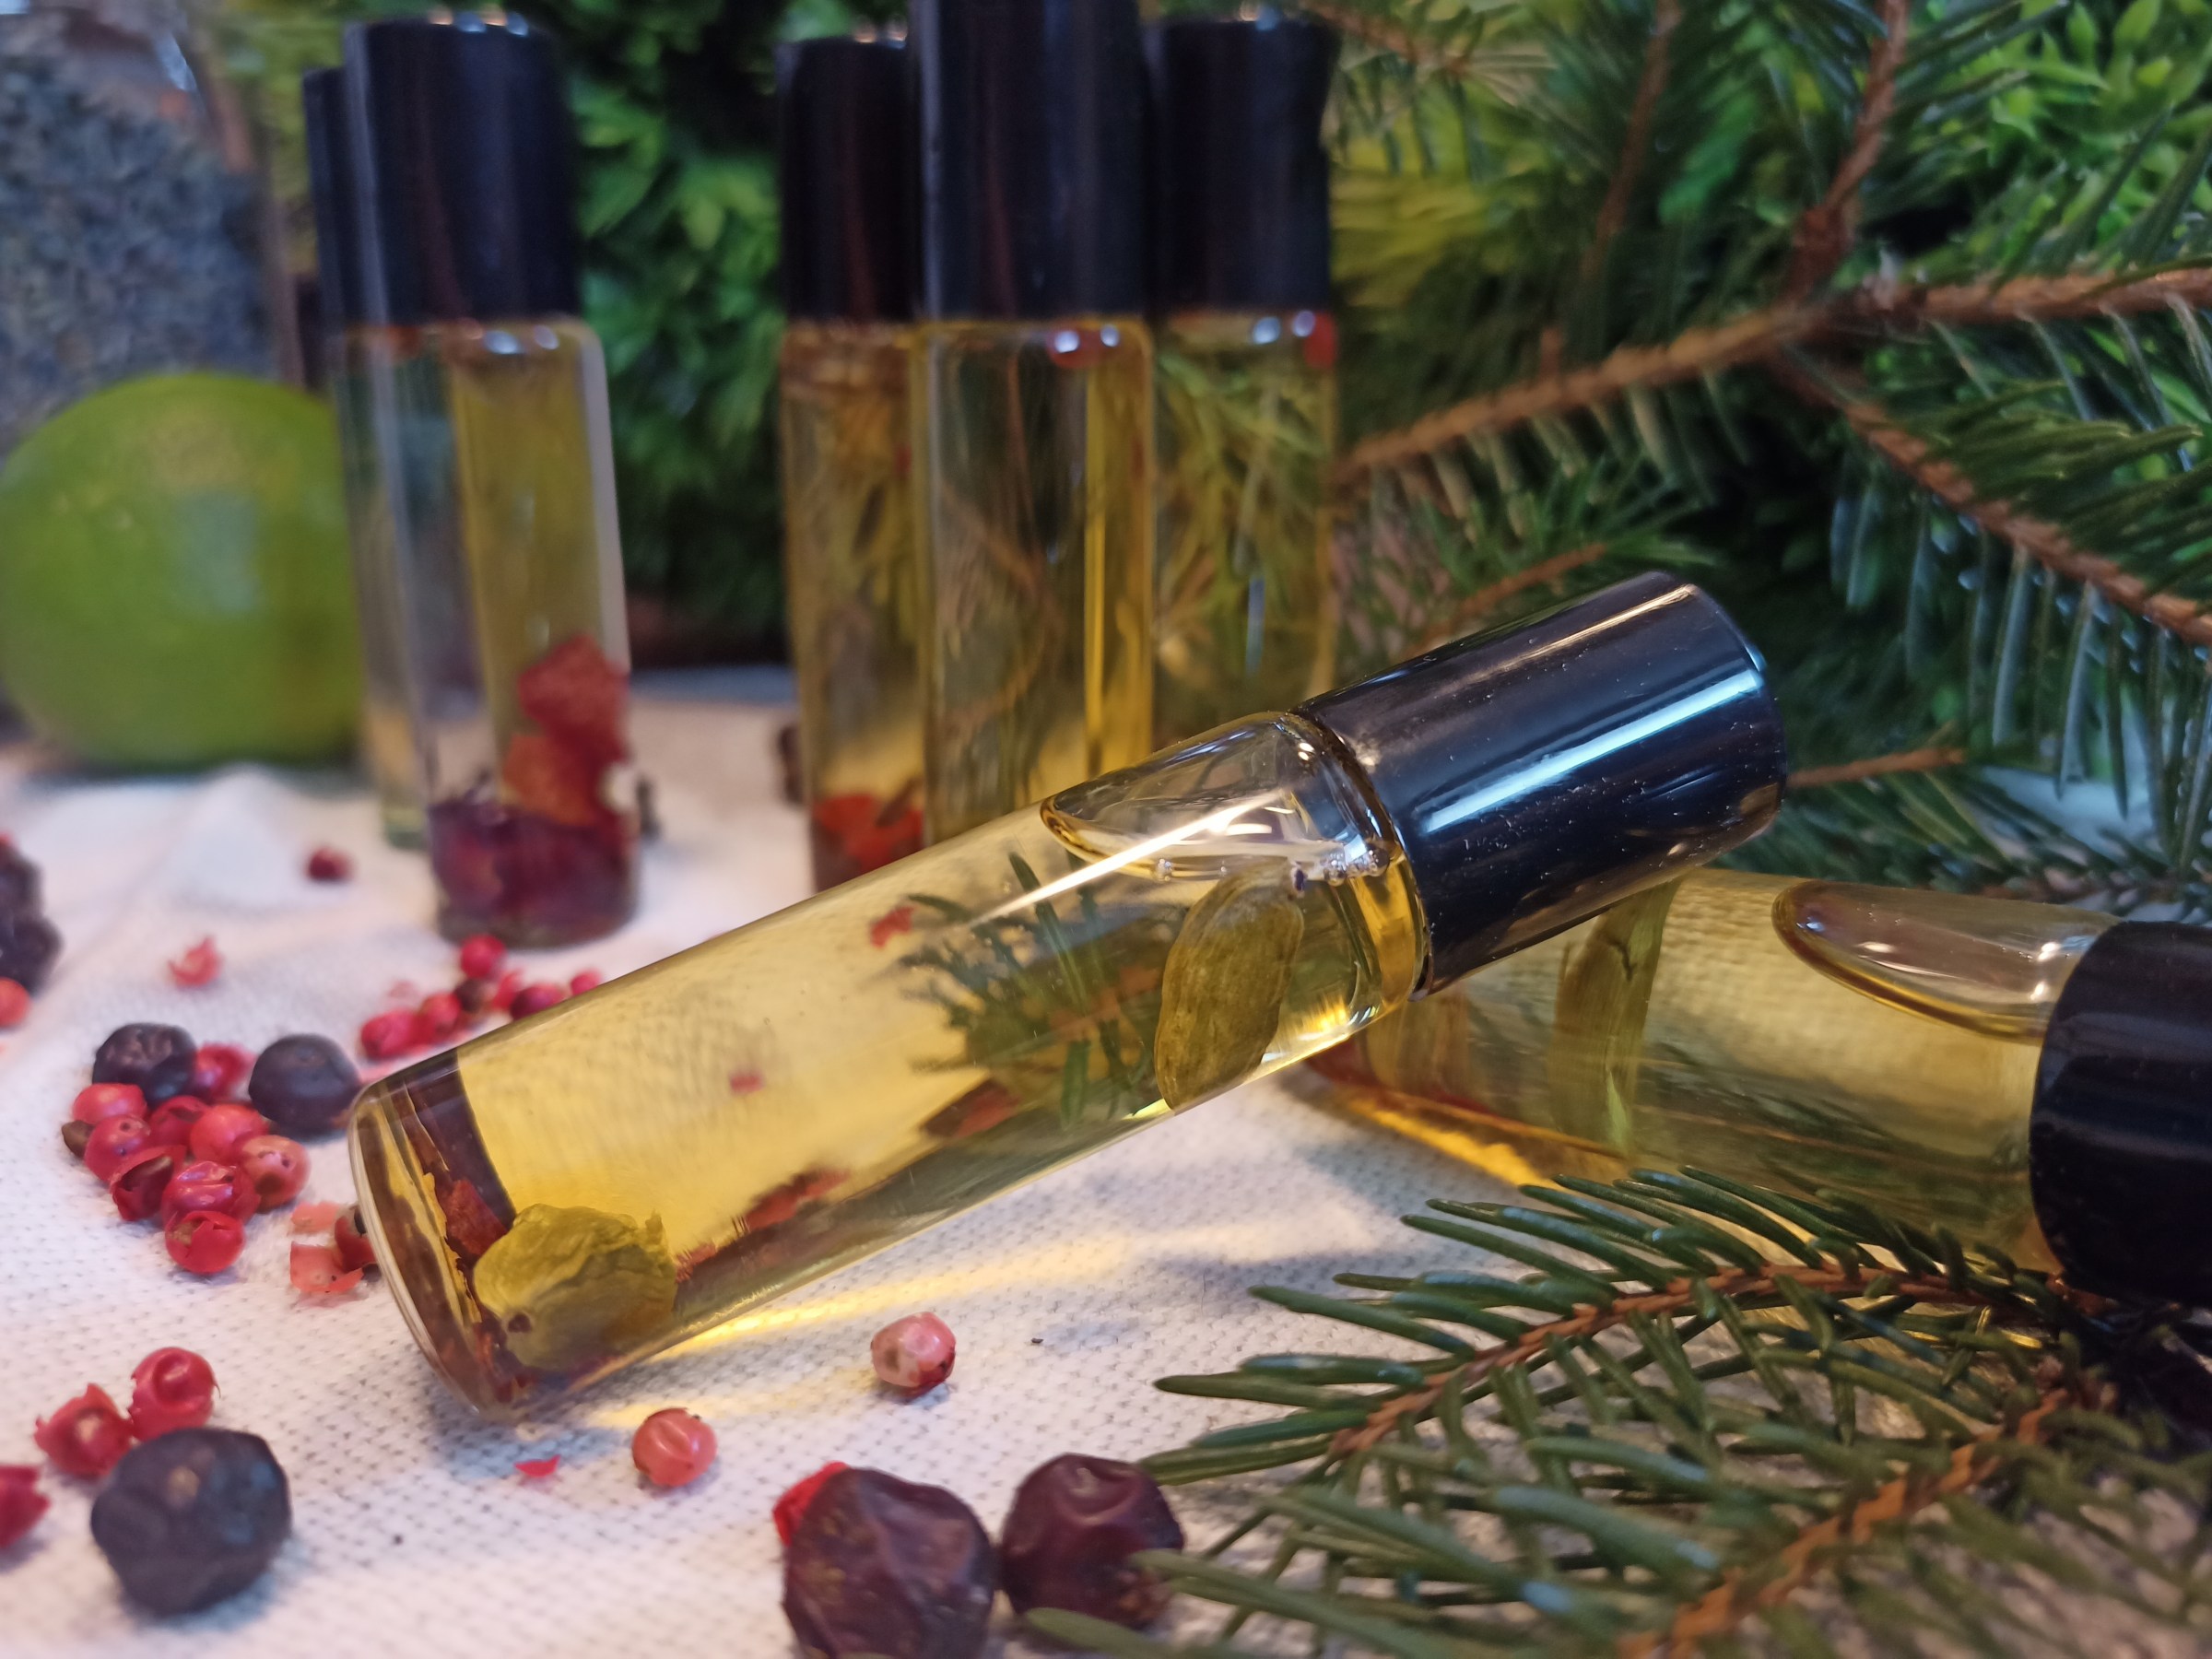
The idea of wearing the fragrance of my garden or the essence of the healing herbs that will nourish me during my day began with making healing blends for headache, joint pain or insomnia. Though these fragrances were used medicinally, there was no doubt that they were more vibrant and delightful than most perfumes I had worn before.
After making my first blends strictly based on fragrance, I thought it would be amazing to combine the use of essential oils medicinally and the idea of wearing a fragrance daily. The idea of choosing a perfume based on your physical, emotional and spiritual needs that day is compelling. I was bewitched by the plant material deftly swirling in the liquid when gently shaken. The whole thing is magical to me.
I am keen to put together over the course of a few articles a complete process for creating and choosing a fragrance that can be beneficial on many levels.
We know in our family that if you are stressed, experiencing a panic attack or in shock, that you reach for lavender essential oil, a couple of drops in your hand and deeply inhale. So, a formula with lavender would be useful for a day when you feel delicate, easily over stimulated, or going into a stressful situation.
Let’s begin…
Things you’ll need:
- Essential oils
- Carrier oil: something light with no scent like jojoba oil, sweet almond oil or grape seed oil
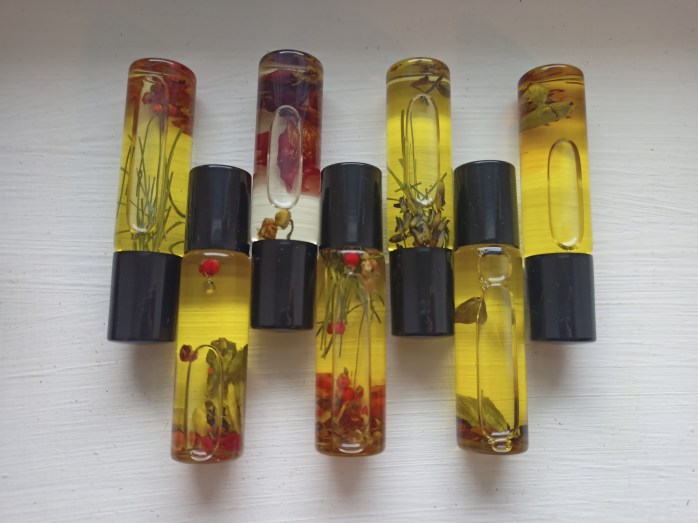
- Clear, amber or blue 10 ml glass roll-on bottles (use clear because it looks so pretty with the flowers and other plant material floating in the perfume, but the scent will degrade much more slowly in a coloured bottle)
The art of perfume making is mastered over years, yet the process of blending essential oils for healing and fragrance can, and should, be available to all of us. It is at its heart a simple process.
- First: know your oils and what their healing actions are.
- Second: know yourself (or your clients) and what your (or their) needs are
- Third: use your nose and your heart…what resonates with you (or your clients)
- Fourth: use a blending factor chart to make the experience more efficient and effective
How to begin:
Choose your essential oils based on healing needs and fragrance. Using the blending factor chart, add no more than 10-12 drops of total EOs into the 10 ml glass bottle. Swirl the bottle around to thoroughly combine the oils then fill the rest of the bottle with a carrier oil of your choice. replace the cap and swirl again.
The oils will bloom over time. After a week or two, the scent will really begin to shine!
What is a blending factor?
A blending factor is basically a scale from 1-10 that rates oils on the intensity of their scent. Using blending factors allows you to create blends where one oil doesn’t overpower the rest. This blog post about blending factors from A Mountain Hearth Witch is amazing at explaining the math behind the art of blending perfumes.
Krista’s Herbs Spring Blends:
Bright: notes of bergamot, sweet orange, grapefruit and rosemary
Forest: notes of mint, rosemary, lemon, sage and pine
Sweet: notes of rose, neroli and ylang ylang
Grassy: notes of rosemary, mint and lavender
Sensual: notes of cinnamon, patchouli, clove and cardamom
Earthy: notes of patchouli, hinoki wood, vanilla and cedar
Heaven: notes of lemon, lime and vanilla

Bee Petting: Autumn Edition
The cooler days mean sleepy bees. This one makes a vague suggestion of annoyance at the end by half-heartedly lifting one leg at me.
Yoga

It’s been a long time since I’ve done yoga, maybe fifteen years. I used to really like doing yoga, it suited me and I remember my little girls bending, folding and stretching with me occasionally.
I’ve talked before about how I battle with stress and the effects with which it comes. I work with herbs in my daily life and these help to keep me grounded. I try to get out into the forest every day. This also helps.
As I get older, I’ve been noticing my joints creaking (yikes!), my knees feel delicate and, in general, I feel less flexible and more achy. After some thought, it seemed like a great time to pick up yoga again. If not for anything else but to get more flexible and to spend some quiet time breathing. Sounds like a great idea, no?
Upon buying a proper yoga mat, I started my first day of a 31-day program online. No way was I going to march my old butt into a yoga studio. No one wants that….no one.
It feels super comfy at home in my pjs doing yoga. I’ve been yogaing and breathing every morning before work and it really seems to be helping my mental state. I get into to work with my body coursing with blood that is properly oxygenated, mental clarity and an appropriate sense of detachment from the intensity of other people’s issues that would’ve normally stuck to me like glue.
Just saying…seems to be a good decision. Knees feel better, too!
Here’s where I’ve been doing my yoga:
Nettles To The Rescue

Need an energy boost? Feeling dull due to the change in weather? Now is the perfect time to harvest these gorgeous plants!
Stinging Nettles (Urtica dioica) are in their second growth right now. Catch them before their catkin-like flowers start to dangle. I harvest the top 10-15 cm of the plant and dry them in batches in my dehydrator. I absolutely love them fresh as well. During this change in season, and the stress of starting school again after a luxurious summer holiday, we make nettle tea each evening in order to have a strong brew ready in the morning. I fill our two large French presses 1/2 full of fresh nettles (or 1/3 full of dried), cover them with water that has just boiled and leave them overnight. In the morning, I press them and pour them into glass bottles to be drunk throughout the day. A great tonic, energizer, full of minerals and nutrients and an overall detoxifier!
The Design Process
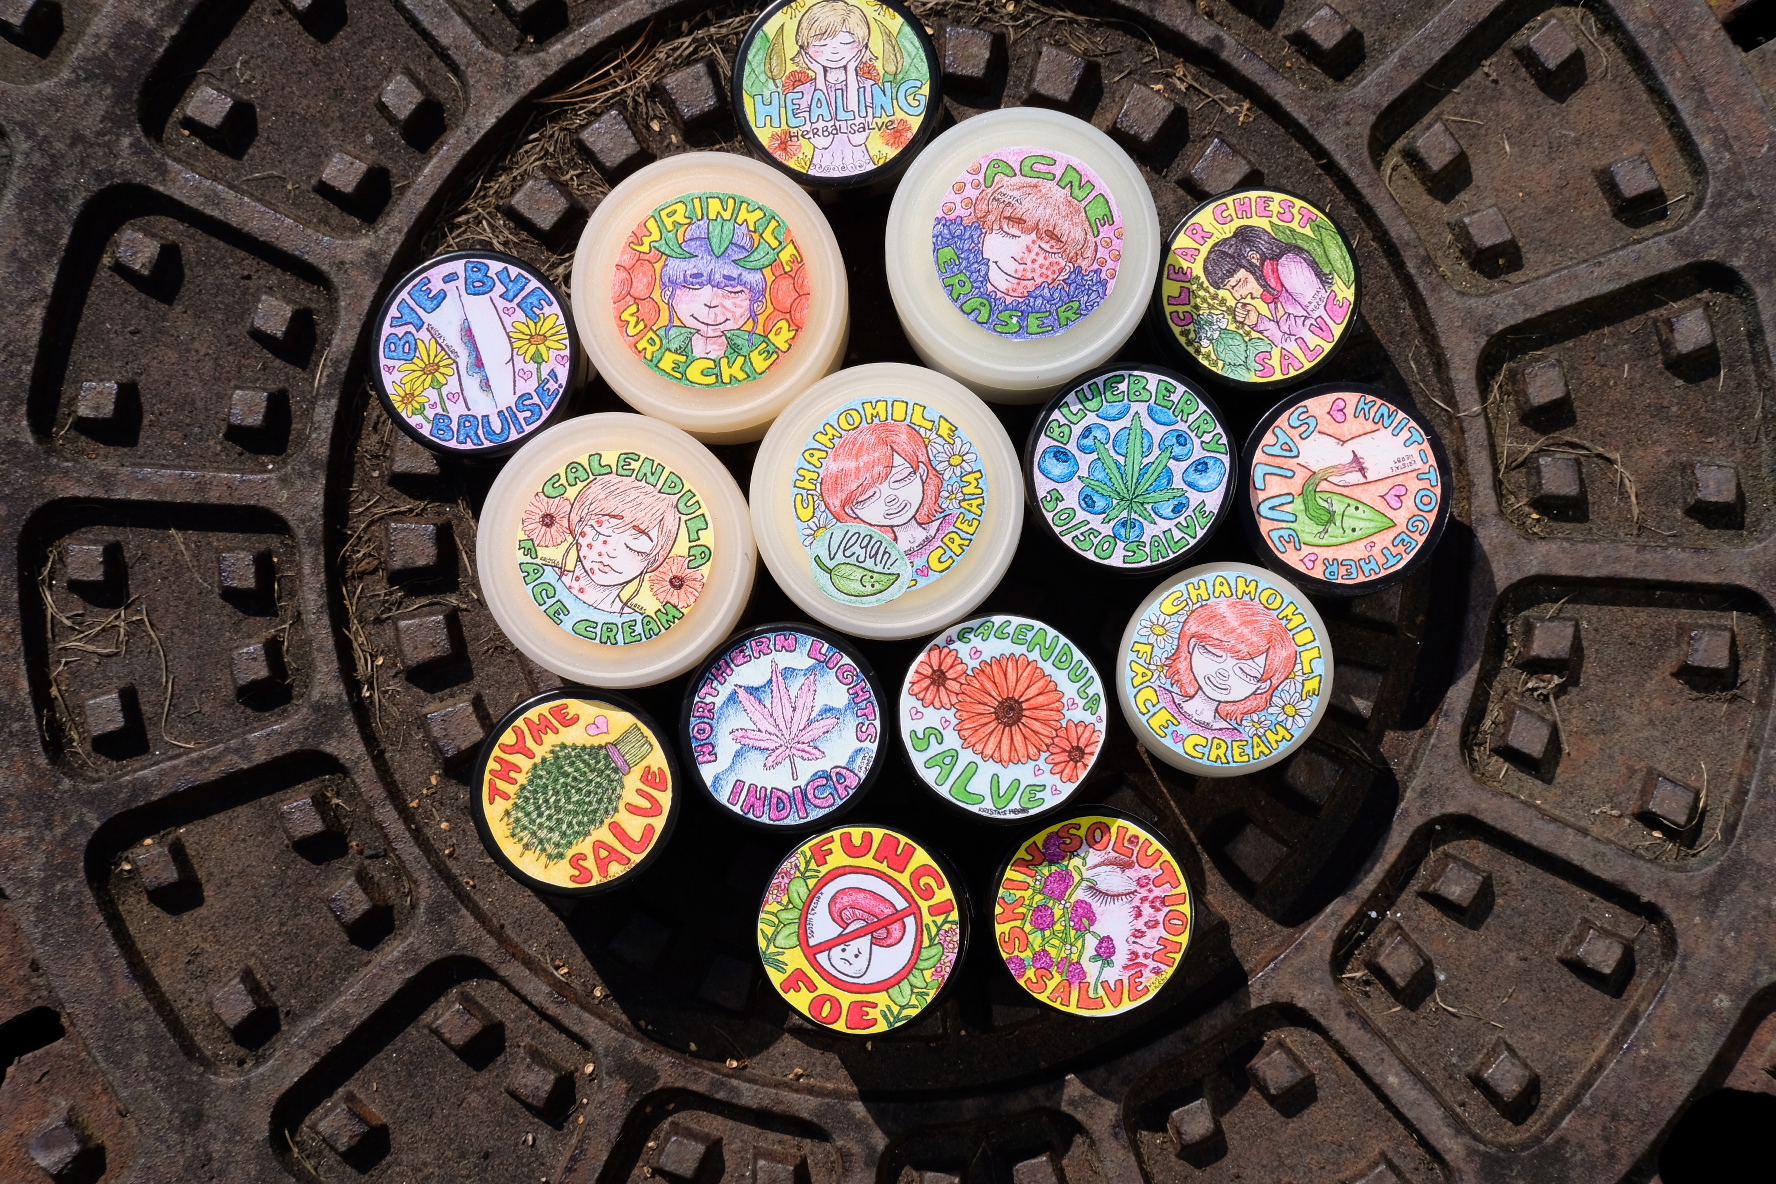
Something that sets my herbal remedies apart is the connection they have with my daughter Rebekah. I began my herbalism journey in order to find a natural path of healing for her and her serious health issues (read more here) and she has partnered with me in designing my labels as well as illustrating all of the designs.
I wanted to share with you the design process. It is truly a delight to watch.
Step 1: We talk together about the remedy, its name, the ingredients and what it is for. She asks some questions, I give a few ideas and then she’s off to do a pencil mock-up.


Step 2: Once I’ve approved the designs and she’s made any necessary corrections, she moves on to inking the designs. Typically, she inks in the remedy titles first. I love this part, it’s like watching them come to life.


And more inking….


Step 3: Once the inking is done, she moves on to colouring. Using high-quality coloured pencils, she breathes life into the designs.


Step 4: Final look at the new batch of labels!


Step 5: My youngest daughter Roxie is also a valuable part of my herbal business. She is in charge of formatting and processing the digital images in order to get them ready to go to the printer.


Step 6: Rebekah then takes the digital images and gets them printed on waterproof, removable sticker paper.


Step 7: The mind-numbing task of cutting out the labels often goes as well to Rebekah. Binge watching a TV show goes well with this task.


Step 8: Filing away the pre-cut labels along with their ingredients stickers and keeping it all organised is super important.


Step 9: Affixing the labels on to new products. I am so proud of Rebekah and her designs!