Krista's Herbarium
a collection of herbal remedies, recipes, and reveries
Breathe Easy Tea
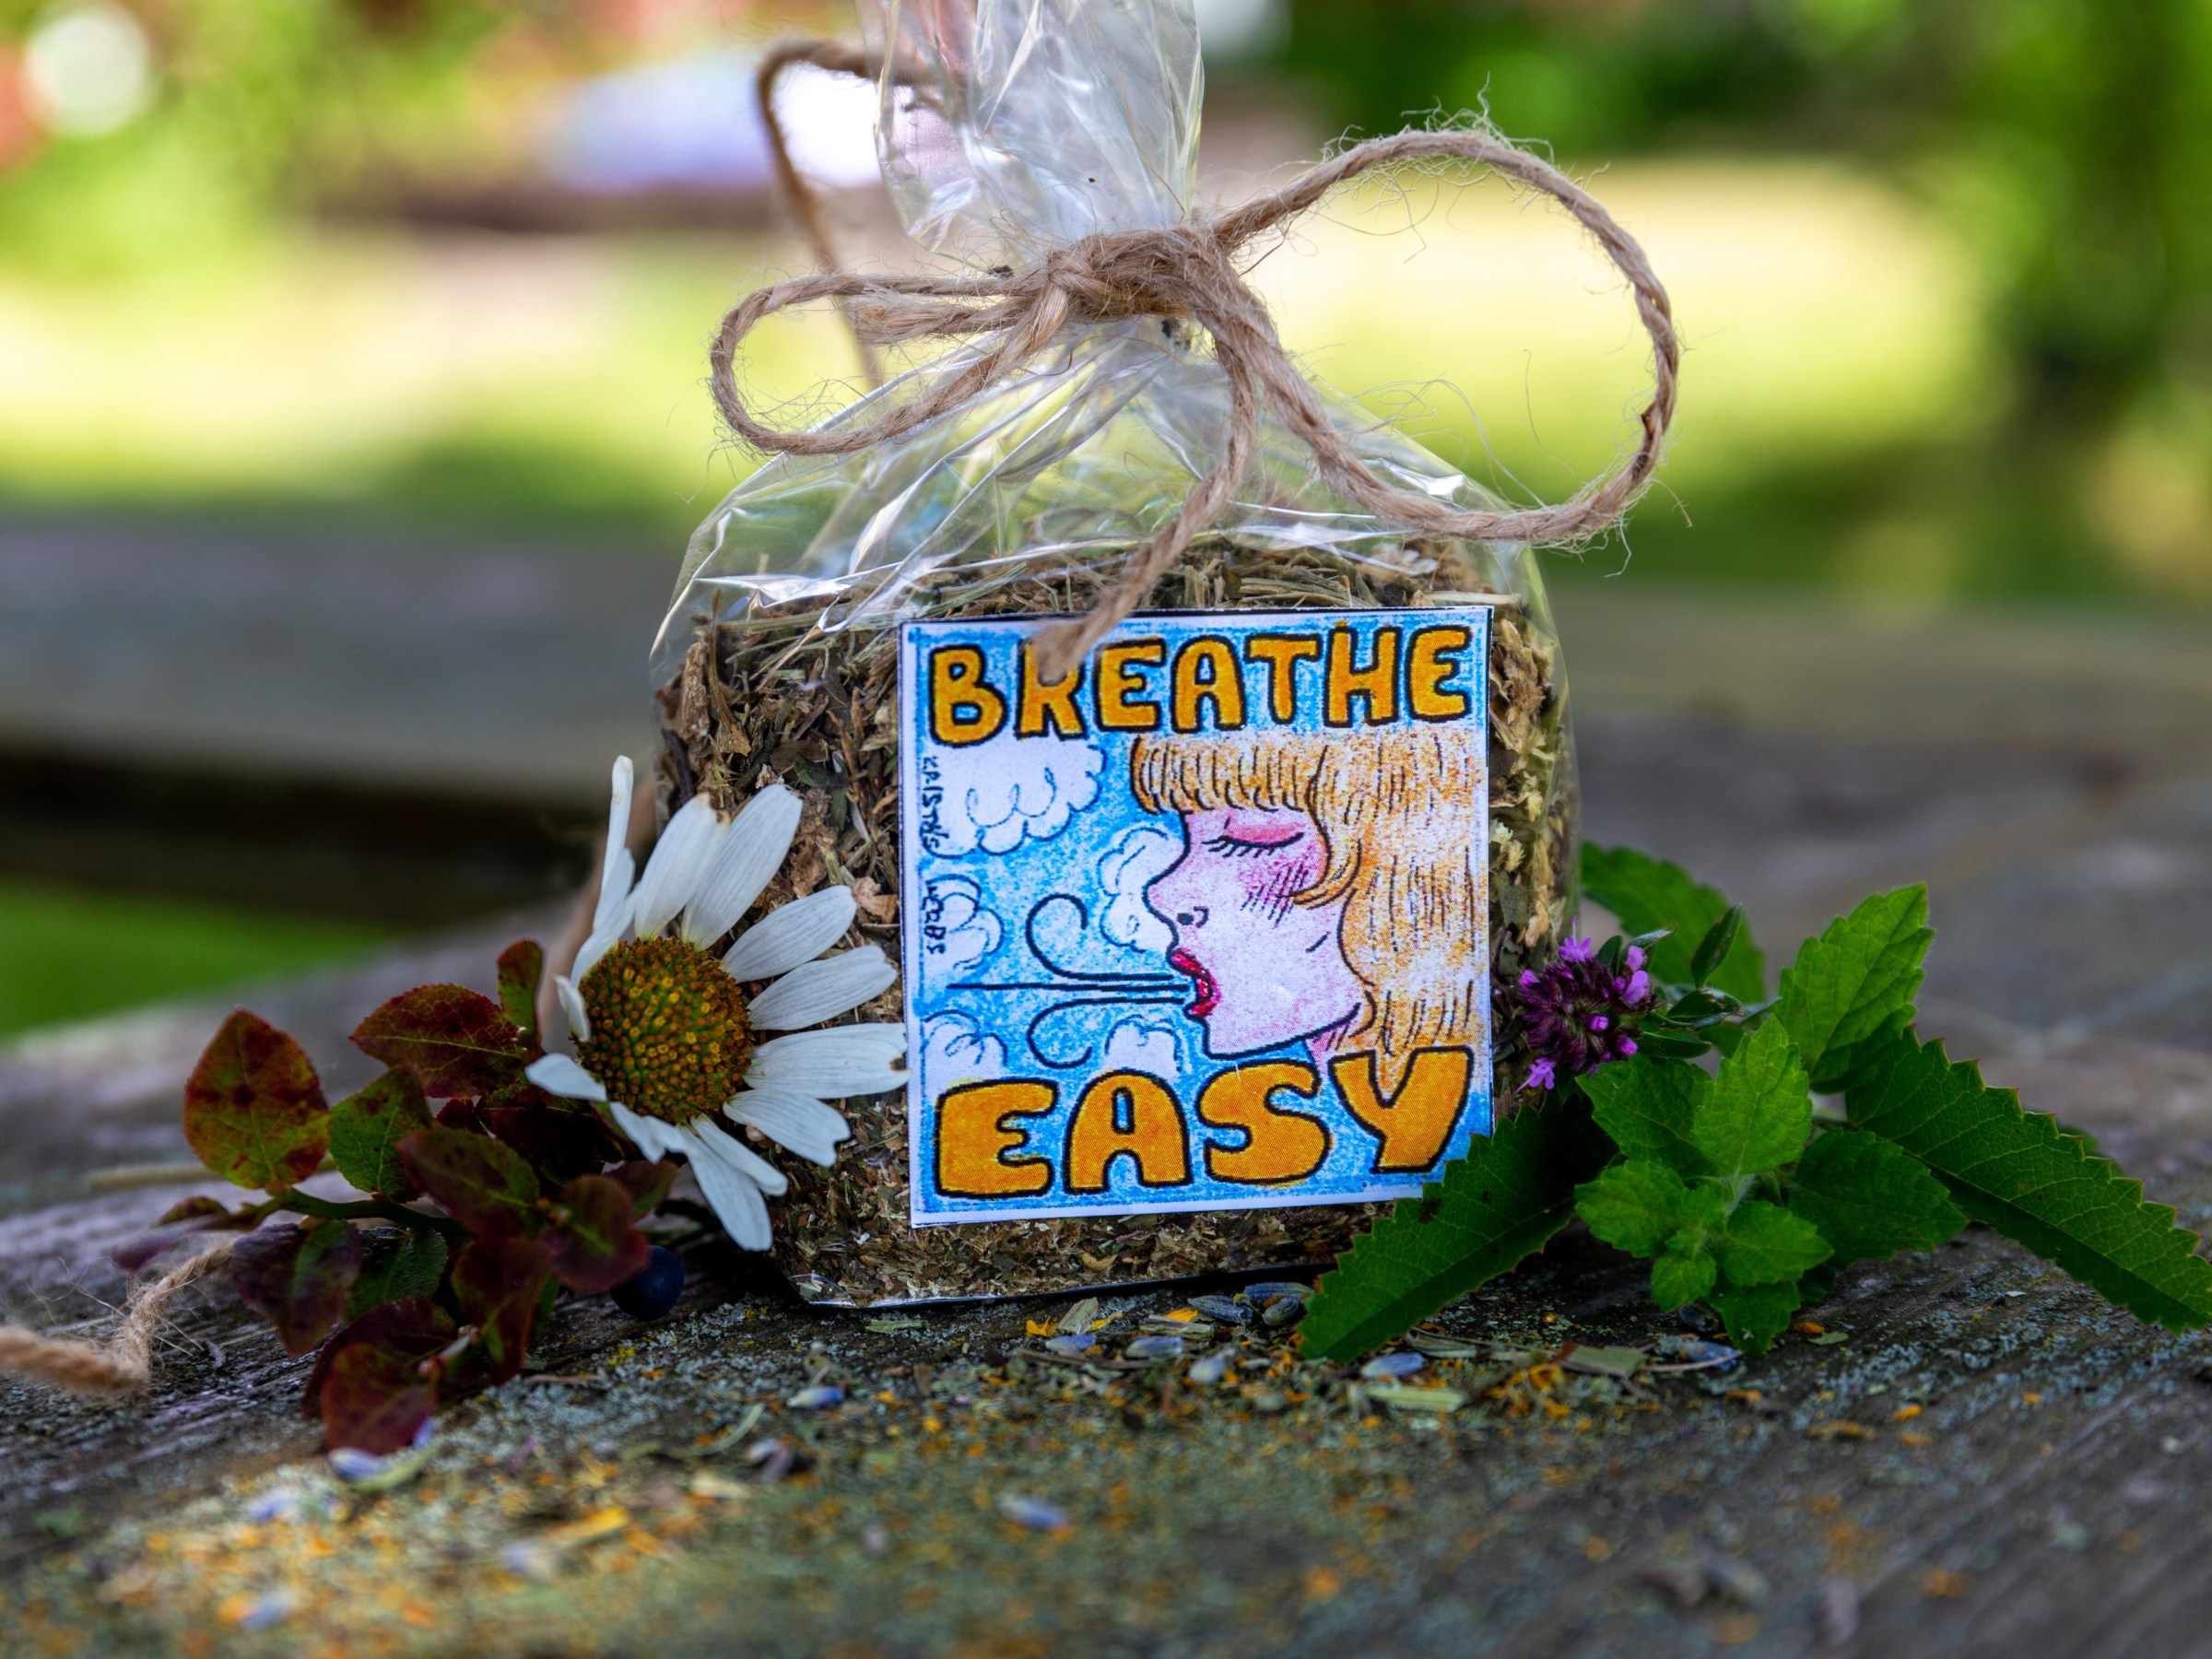
Summer’s here and with it comes sunshine, holidays as well as a few unexpected issues.
You’d think that allergy season would have subsided. Not here though, I still see so many people walking around sniffling with red, watery eyes.
Then there is the issue of the change in weather bringing about systemic weakness to our organisms allowing for spring and summer colds and viruses.
To top it off, holiday travel brings certain stressors: jet lag, new microbes and viruses, unusual foods, lack of routine, sudden increase in physical exertion; all of these can lead to a weakened system.
It seems unusual to point out the benefits of this tea outside of cold and flu season or the height of allergy season, yet I have reached for this formula twice in the last week.
My Breathe Easy Tea benefits the upper respiratory system and is a valuable tool when an expectorant or a decongestant is needed. The tannins in these herbs help to extract excess moisture from the tissues.
Breathe Easy Tea
- 1 part Yarrow Achillea millefolium
- 1 part Angelica root Angelica archangelica
- 1 part Eyebright Euphrasia
- 2 parts Mint Mentha (add more to taste, if desired)
Grind the herbs in a mortar and pestle or with a juicer or herb grinder.
Store in a cool, dry, dark place.
1 tablespoon of tea per cup of boiling water, let steep for 5-10 minutes covered.
Dose: 1 cup of tea as needed
Medicinal Actions:
Mint: Decongestant, antispasmodic, anti-inflammatory, analgesic, diaphoretic
Yarrow: diaphoretic, diuretic, astringent, decongestant, expectorant, alterative, analgesic
Angelica Root: diaphoretic, anti-inflammatory, expectorant, alterative
Eyebright: expectorant, astringent, antiviral, decongestant
For other medicinal herbal tea blends see my Loose Leaf Tea Menu.
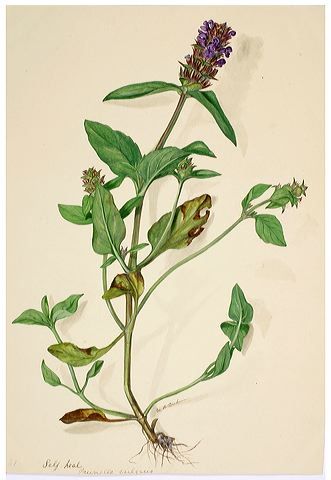
Self-heal
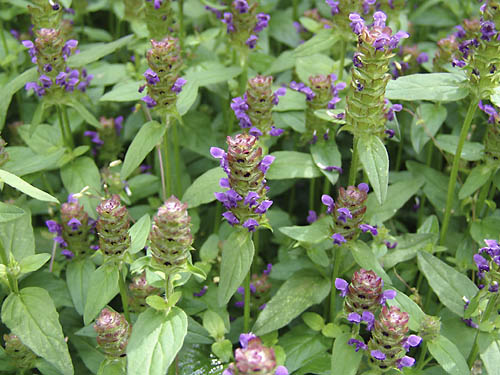
Prunella vulgaris
Medicinal Notes
The plant has a long history of medicinal use, and traditionally the leaves are applied to wounds to promote healing. According to the 16th-century herbalist John Gerard, ‘there is not a better wounde herbe in the world’. The 17th-century botanist Nicholas Culpeper wrote that the plant is called self-heal because ‘when you are hurt, you may heal yourself’.
According to KewScience:
“Prior to World War II, it was used to staunch bleeding and for treating heart disease. A decoction of the leaves was used to treat sore throats and internal bleeding. It is used as an anti-inflammatory and has anti-allergic activity. In western medicine it is used externally for treating minor injuries, sores, burns, bruises and can also be used as a mouthwash to treat mouth ulcers.
Whereas in European countries herbalists have mainly used selfheal for treating wounds, in Chinese medicine it is mainly used for treating liver complaints, acting as a stimulant in the liver and gall bladder. Self-heal shows antiviral properties, and in China it is used as an anti-cancer drug.:
Harvesting
Self-heal is a member of the family Lamiaciae. Prunella vulgaris is a perennial herb, with stems often square, crimson tinged, and erect to decumbent, up to 30 cm tall
According to Show Me OZ:
“To use Heal-All, simply cut the desired amount of stems desired to ground level and avoid pulling up the plant as this effectively kills it. Always avoid harvesting Heal-All from roadsides, pastures, agricultural fields and other sites that may be contaminated with herbicides, pesticides, lead or any number of industrial chemicals because Heal-All is known to readily these chemicals from the soil.”
Constituents
Self-heal contains a wide array of acid compounds including lauric –, oleanolic –, rosmarinic –(antioxidant), linoleic – and ursolic acid. Contains volatile oils (camphor, fenchone), bitters, saponins, tannins, glycoside (aucubin), flavinoids
Uses
Tincture: 1:5; 40% ethanol: 2-4 ml three times a day
Tea: 3g in one day as tea or infusion .
External applications: salve, compress, powder or wash as needed.
It should not be taken in large doses during pregnancy, but it is sometimes appropriate in small doses at that time.
Herbal How To: Lip Balm
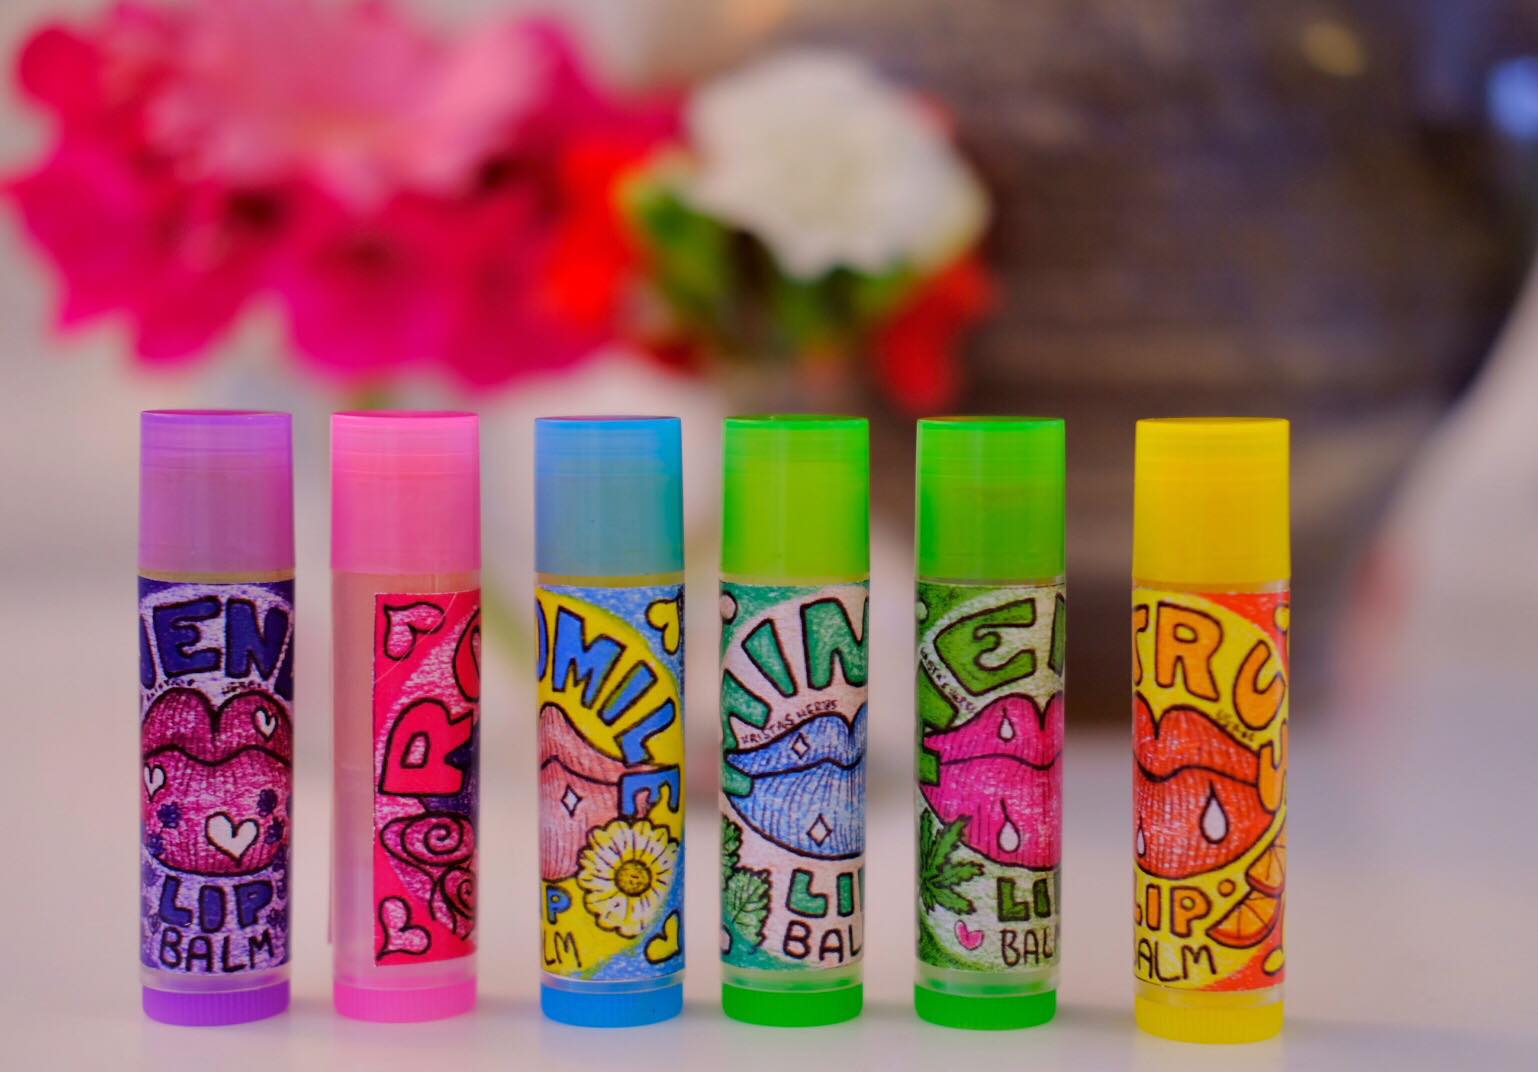
Today we’re making Lavender Lip Balm. The recipe stays consistent for all of the variations. Check out my Soothing Lip Balm post for all of the recipes.
 1. Gather supplies (sauce pan, wooden spoon, measuring cup, infused oils, shea butter, beeswax, essential oils, lip balm tubes)


2. Heat 1/4 cup infused oil in a double boiler on low heat (I used lavender-infused almond oil)


3. Add 1/4 cup shea butter
4. Add 1/8 cup beeswax
5. Stir until fully incorporated

6. Add 25-30 drops essential oil (I used lavender)


7. Prepare the lip balm tubes
8. Pour (carefully) into lip balm containers


9. Allow to cool and then apply labels
10. Enjoy!
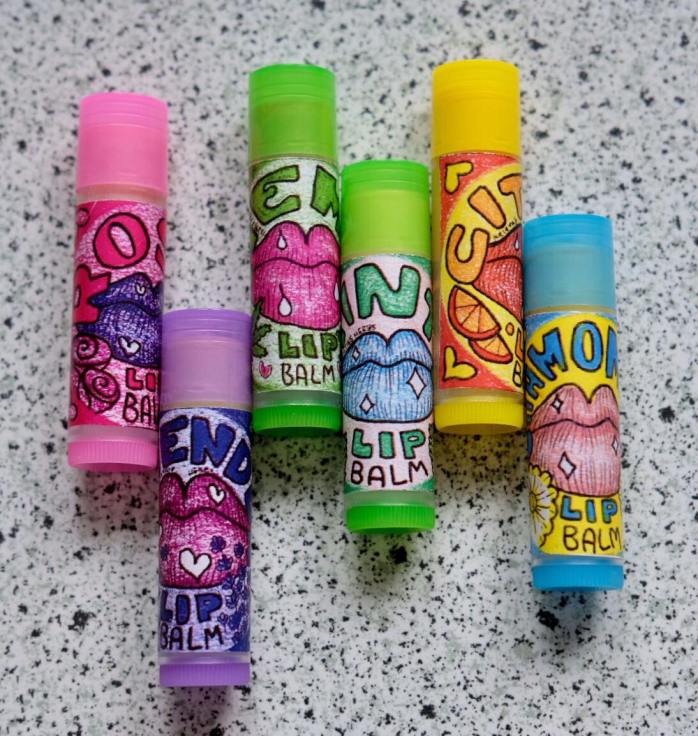 All of these lip balms are available to purchase here.
(Photo credit for the really nice photos: Zeinep Yessenbekova)
Calling All Arborists
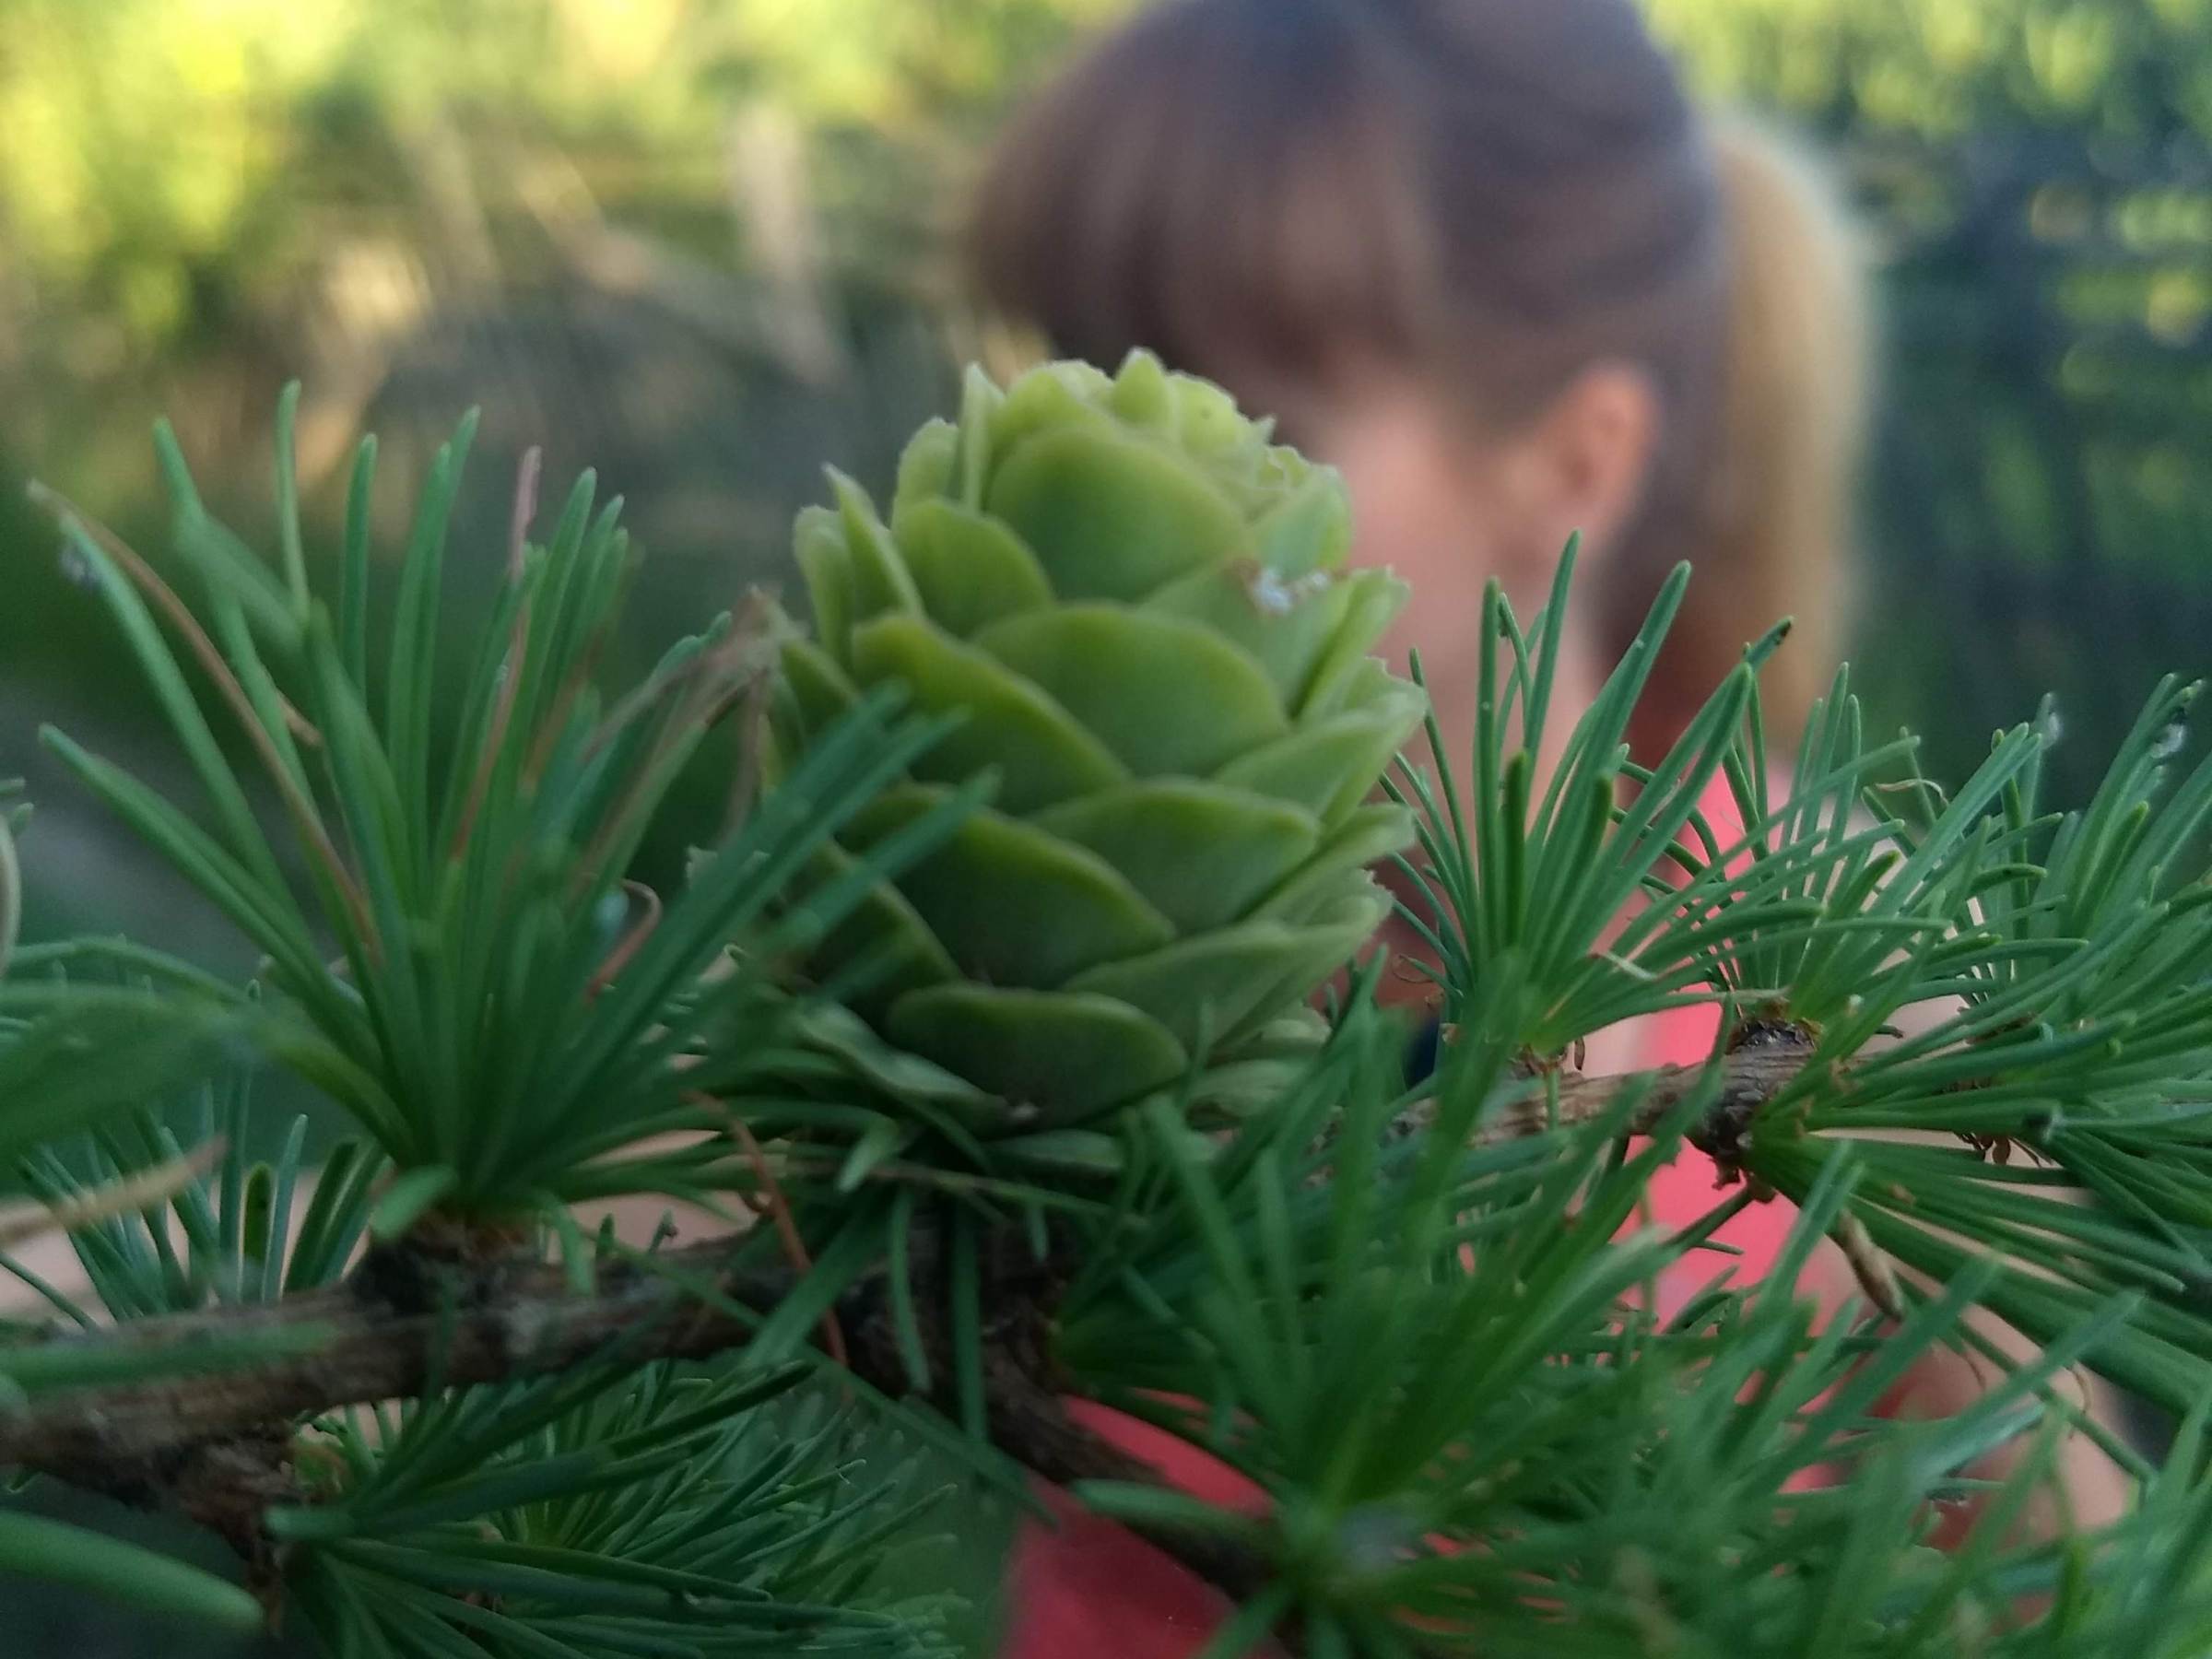
While out harvesting, I came upon this unusual Tamarack (?) Larch (thanks, Tony!). I saw several people gathering the succulent baby cones. I wondered for what purpose they could be used.
I am no expert on trees, apart from the few that I use regularly in my herbal remedies. For this, I must rely upon Tony Tomeo. Tony, Can you help me identify this unusual yet ubiquitous (in one part of our forest) conifer? And perhaps shed some light on the uses of their cones?
Soothing Lip Balms
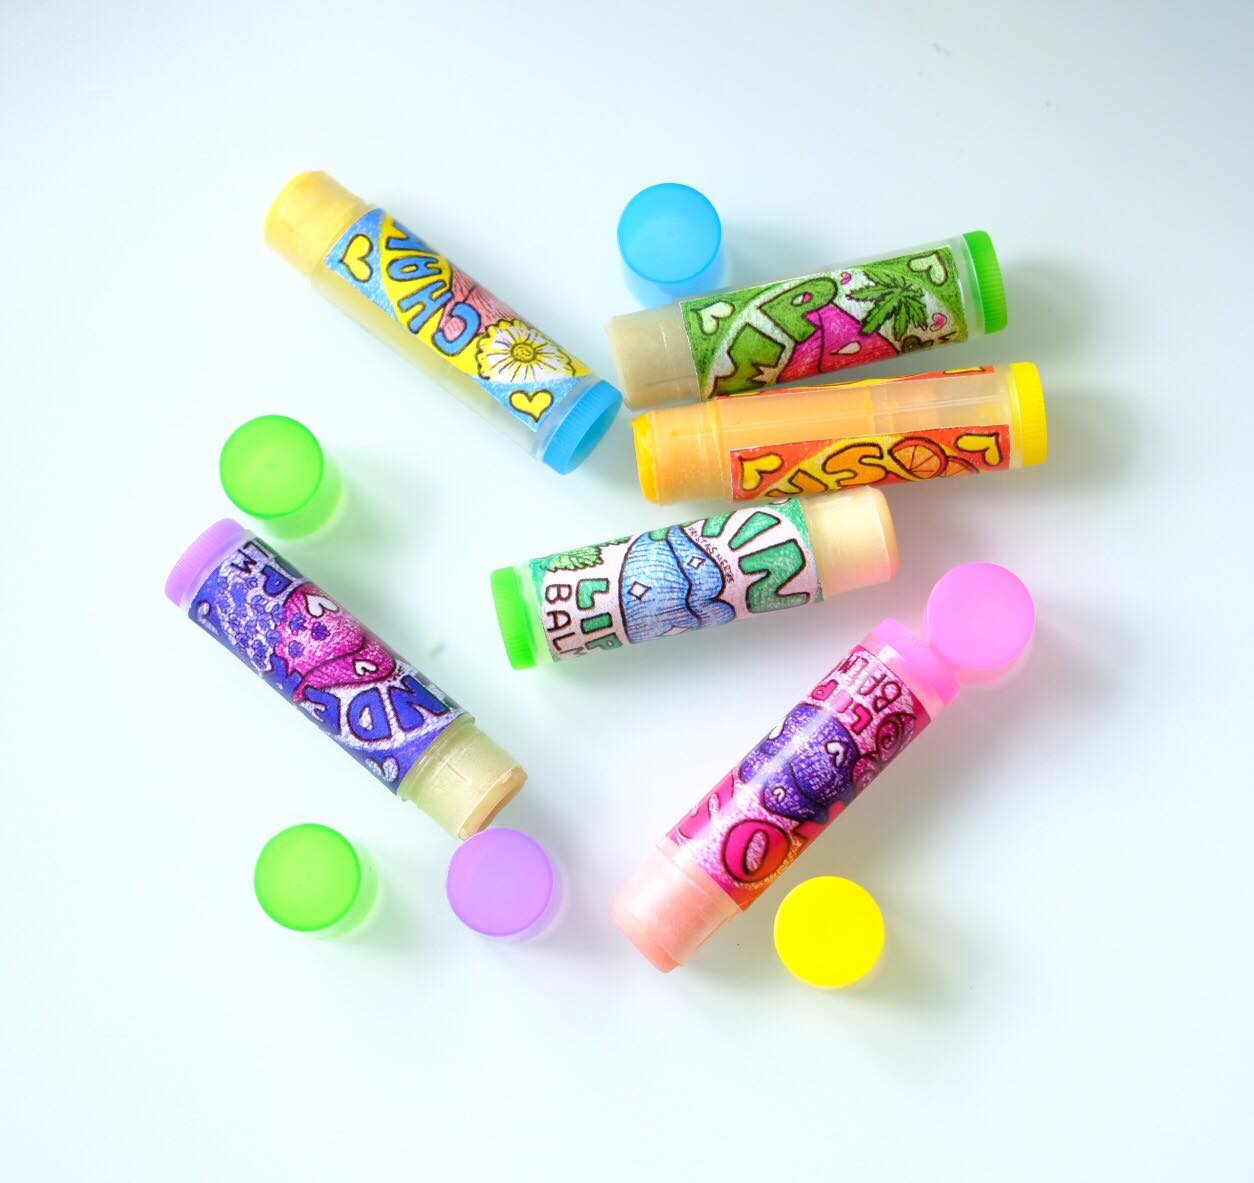
A friend and client of mine was in attendance at one of my Herbal Workshops. As the workshop was wrapping up, we were discussing what we should do for the next few workshops. One idea that my friend came up with was a beauty workshop featuring Basic Face Wash and lip balms.
I thought this was a fantastic idea, except for the fact that I had never made lip balms before. Not to mention the fact that I didn’t have any idea about flavours, and I had no containers nor labels.
Step 1: I had to actually find out how to make lip balms.
Step 2: I had to decide what flavours to make, and how to do that as well.
Step 3: I had to test all the lip balms on my friends and family and perfect the recipe.
Step 4: I had forgotten to order the containers beforehand, so an extra step had to be added to make up for this.
Step 5: Bekah had to design the labels, draw them, format them, take them to the printers, etcetera
So I got to work, and after a couple of weeks I had completed all of these steps and the recipe had now been through three iterations. Despite having to hand out so many samples and collect so much feedback, it paid off; I’m really happy with the final product, especially the packaging.
What I was so surprised about was just how easy the lip balms were to make. Anyone can make them at home with the right ingredients, and you don’t even need the tubes as small tins or empty lip balm containers work just fine.
Soothing Lip Balm
- 1/4 cup (60 ml) herb-infused oil
- 1/8 cup (30 g) beeswax
- 1/4 cup (60 g) shea butter
- 25 drops essential oil
In a double boiler (or a pot nestled in a larger pot filled with a bit of water) over medium heat, add the oils, butter, and beeswax.
Stir until the butter and beeswax melts and is fully incorporated.
Remove from the heat and allow to cool for a moment.
Add the essential oils. Stir.
Pour into clean and sterilised jars, tins, or tubes.
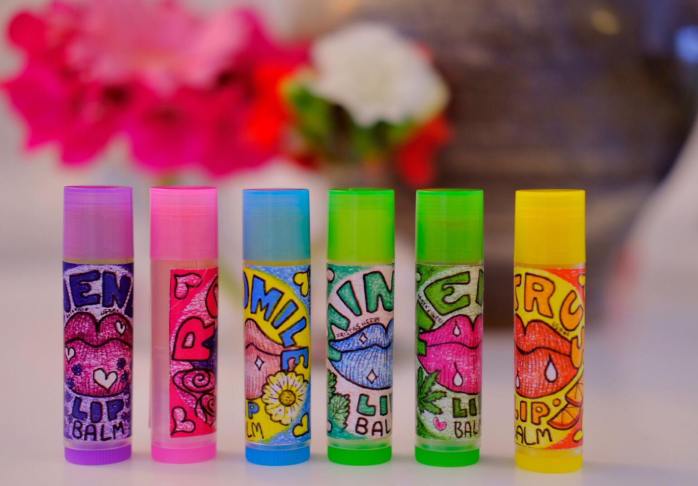
Flavour Recipes
Chamomile
Chamomile-infused almond oil
Shea butter
Beeswax
Chamomile essential oil
Mint
Almond oil
Shea butter
Beeswax
Mint essential oil
Rose
Rose and alkanet-infused almond oil (alkanet root lends a gorgeous pink colour)
Shea butter
Beeswax
Rose and geranium essential oils
Lavender
Lavender-infused almond oil
Shea butter
Beeswax
Lavender essential oil
Hemp
Hemp seed oil
Shea butter
Beeswax
Citrus
Calendula-infused almond oil
Shea butter
Beeswax
Red grapefruit and mandarin essential oils
Note: Due to Shea butter’s natural graininess, some of this texture may be found in the lip balm. This is completely normal and- with the heat of your skin- will melt, leaving your lips silky smooth.
You can purchase these lip balms here.
(photo credit: Zeinep Yessenbekova)
Bee Hotel
My husband and I were in a meadow harvesting St John’s Wort when we happened upon this bee hotel. Foxglove, you make an awesome restaurant/accomodation for my fuzzy friends!
Herbal How To: St John’s Wort

St John’s Wort is a tricky one.
It is so beautiful with its sunny yellow flowers, perforated leaves and unique purpley-red dye that stains your fingers when the buds are squished.
We use St John’s Wort as an anti-anxiety/anti-depressant remedy “sunshine in a bottle”, as a powerful wound healer in our Herbal Healing Salve, as a sunscreen and currently, I am working on a new face cream recipe with St John’s Wort-infused almond oil as an SPF component.
For years, my St John’s Wort oils and tinctures never had the red hue that they should have had.
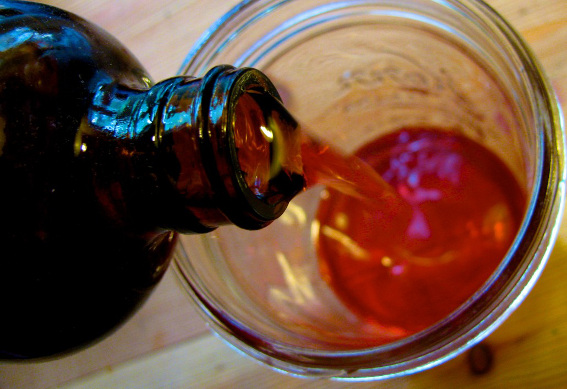
I was either using my own harvest from our local forest or quality sourced St John’s Wort from a local herb shop. All of these were used dried.
My oils and tinctures were very often amber or slightly brownish. I didn’t understand why.
After doing some research, it was made clear to me that the drying process degrades the medicinal action of St John’s Wort, therefore, for St John’s Wort to be as effective as possible, it must be processed while fresh. The buds and flowers hold the bulk of the medicinal constituents. This makes harvesting a bit trickier.
In our area, St John’s Wort grows everywhere, but blooms for only two short weeks at the end of June/early July according to the weather and elevation. This gives me two weeks of harvest near my house and an additional week (if I’m lucky) in the hills at a higher elevation.

I use St John’s Wort all year in oil and tincture form. It is highly prized here and if it can only be processed fresh for best results, then I have to get myself out harvesting and harvest often during this couple of week window that I have.
I harvest the tops of the plants, gathering as many buds as possible. Leaving them for a couple of days to wilt, I then chop just the buds and flower heads up as finely as possible and infuse them in oil or alcohol. I leave stems and leaves to add to my Keep Calm Tea.
Using this method, my oils and tinctures have been a deep red colour and I feel their potency has markedly improved.
An Herbalist’s Toolbox: Vacuum Sealer
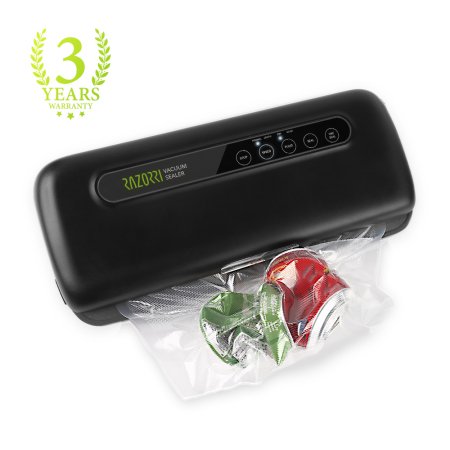
While none of these tools in my Herbalist’s Tool Box are necessary, there are many (all of them, really) that make a big difference to the quality of processing and the efficiency/convenience when having to make bigger batches or process a bulk of herbs.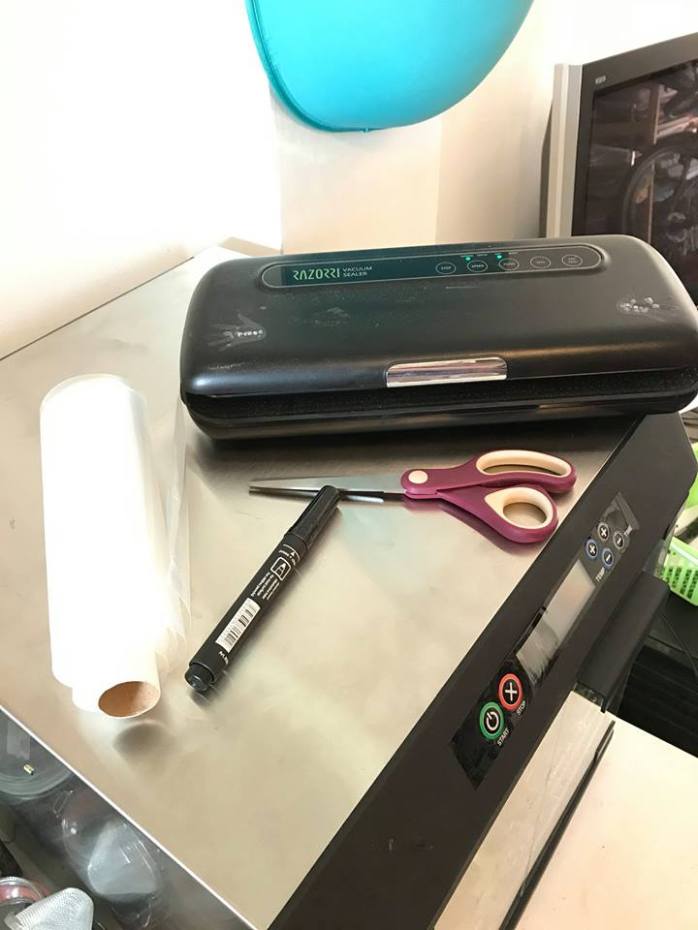
The Vacuum Sealer
I have boxes and boxes of dried herbs which I store in alphabetised plastic crates. Until recently, I stored them in paper bags. This worked well, except for the issues of opened bags, space limitations, contamination of one herb to another and spillage.
My husband heard my concerns and brought home for me this vacuum sealer. It’s pretty decent, does the job and was inexpensive.
I like to be organised and efficient. It helps me to accomplish more in the limited time that I have.
Next to my dehydrator, I keep my vacuum sealer, extra rolls of vacuum seal bags, scissors and a permanent marker.


I prepare for vacuum sealing by cutting some strips off the roll and vacuum sealing an end.
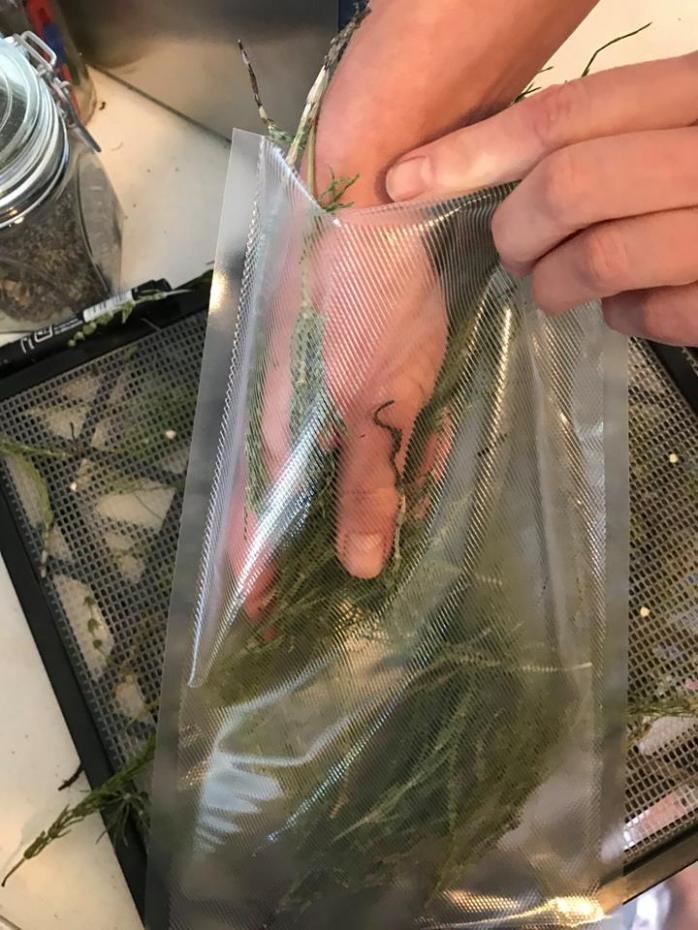
As soon as the plant material has made its way out of the dehydrator, I pop it into the vacuum seal bag. This is horsetail (Equisetum).
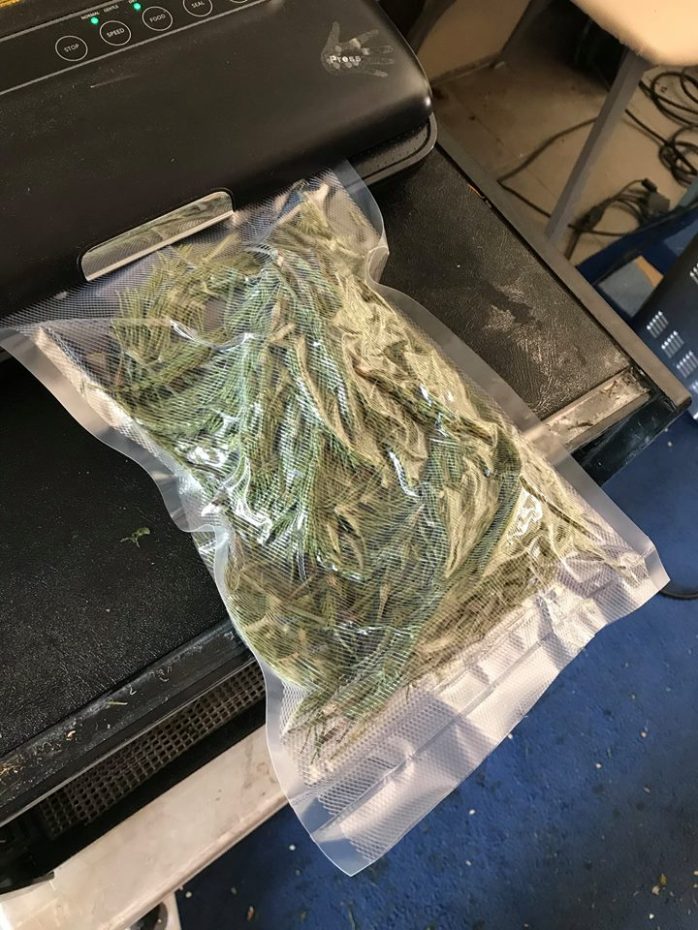
It then gets vacuumed sealed. This takes about 30 seconds.

I label and date it and then pop it into its appropriate bin.
I am able to store so much more now, in a cleaner and fresher environment. As I use the herbs, if I don’t need all of what is in the bag, I just re-seal it and re-label it.
Since I have it set up right next to my dehydrator, it has become a part of this routine and has added only a couple of minutes to my processing procedure.
Update: The company that my husband works for, eujuicers and Sana products, is making a prototype vacuum sealer. I am very excited to test it and let you know the results. Until then, I am satisfied with my Razorri.
Ladybugs Gone Wild!
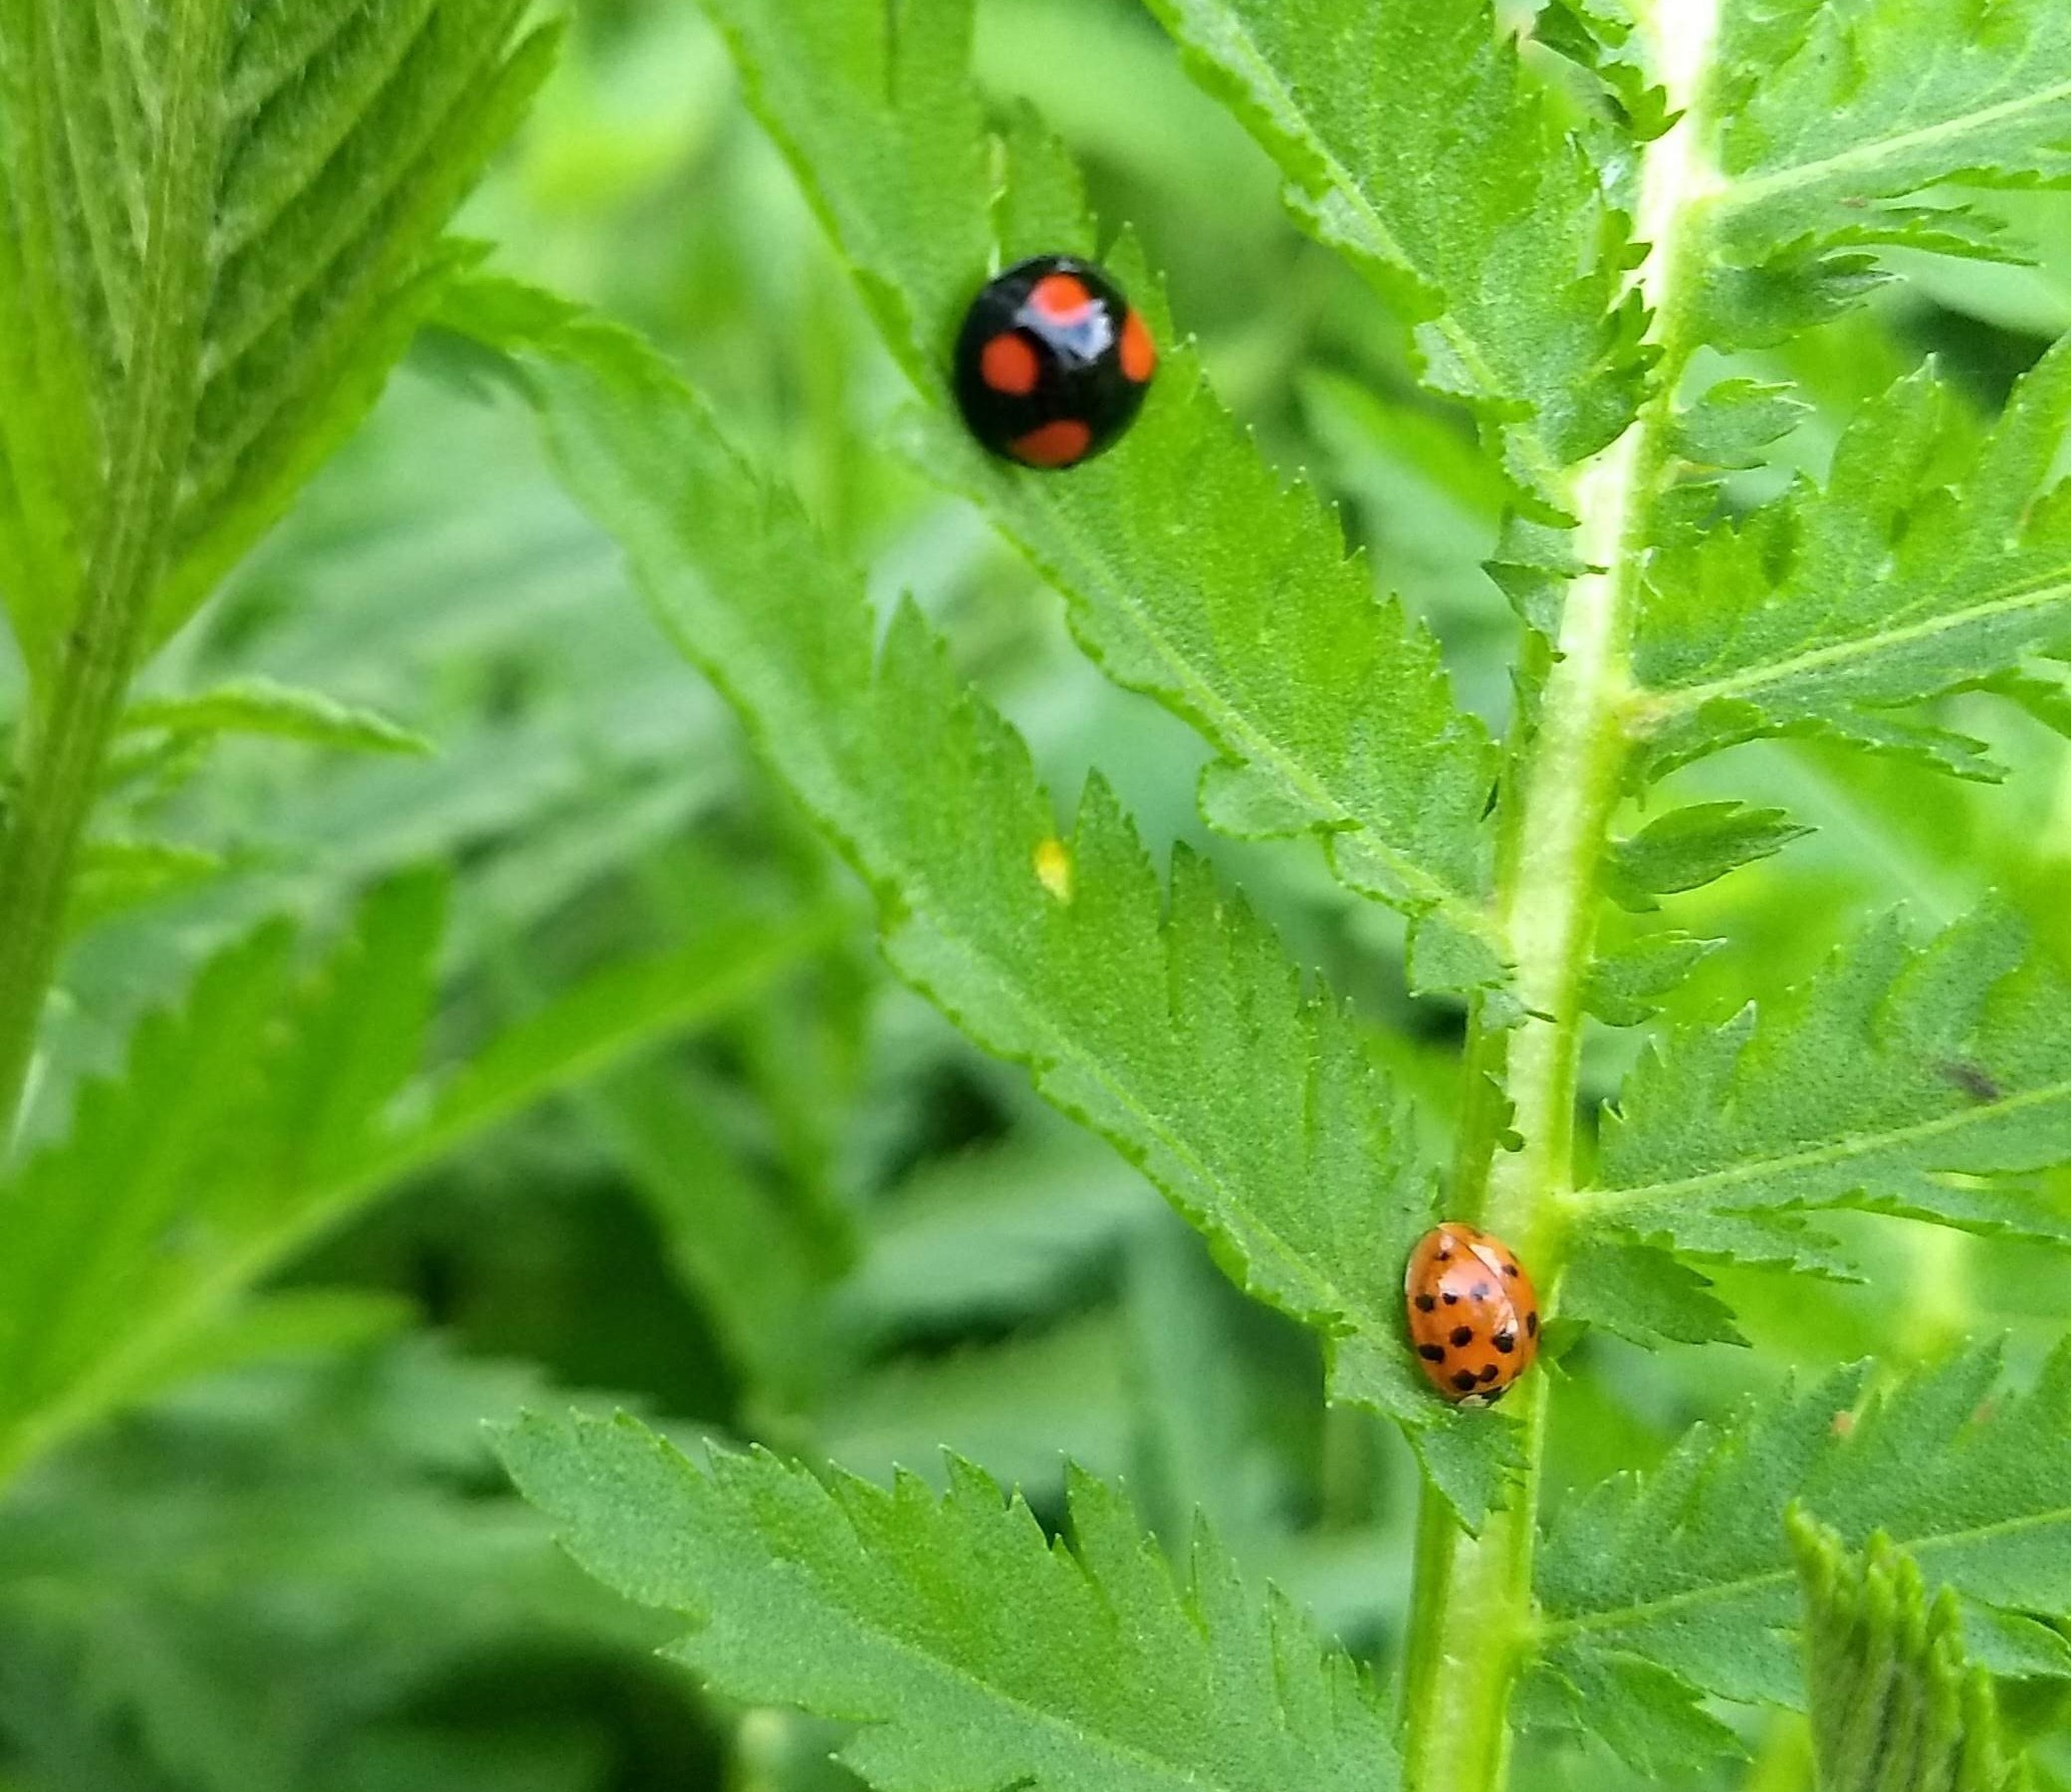
This year, after a year of dedicated bio gardening, the ladybugs have returned with a vengeance. It’s like Nature is helping me out; I don’t poison, and she sends me the bugs I need instead.
The ladybugs have taken up residence in my tansy (Tanacetum vulgare) plants.
They spend their days eating aphids…and getting it on…I have never seen such obscene behaviour, even on a nature documentary. If you are of the ilk with more delicate sensibilities, hide your eyes….
Herbal Workshop: Nature Walk
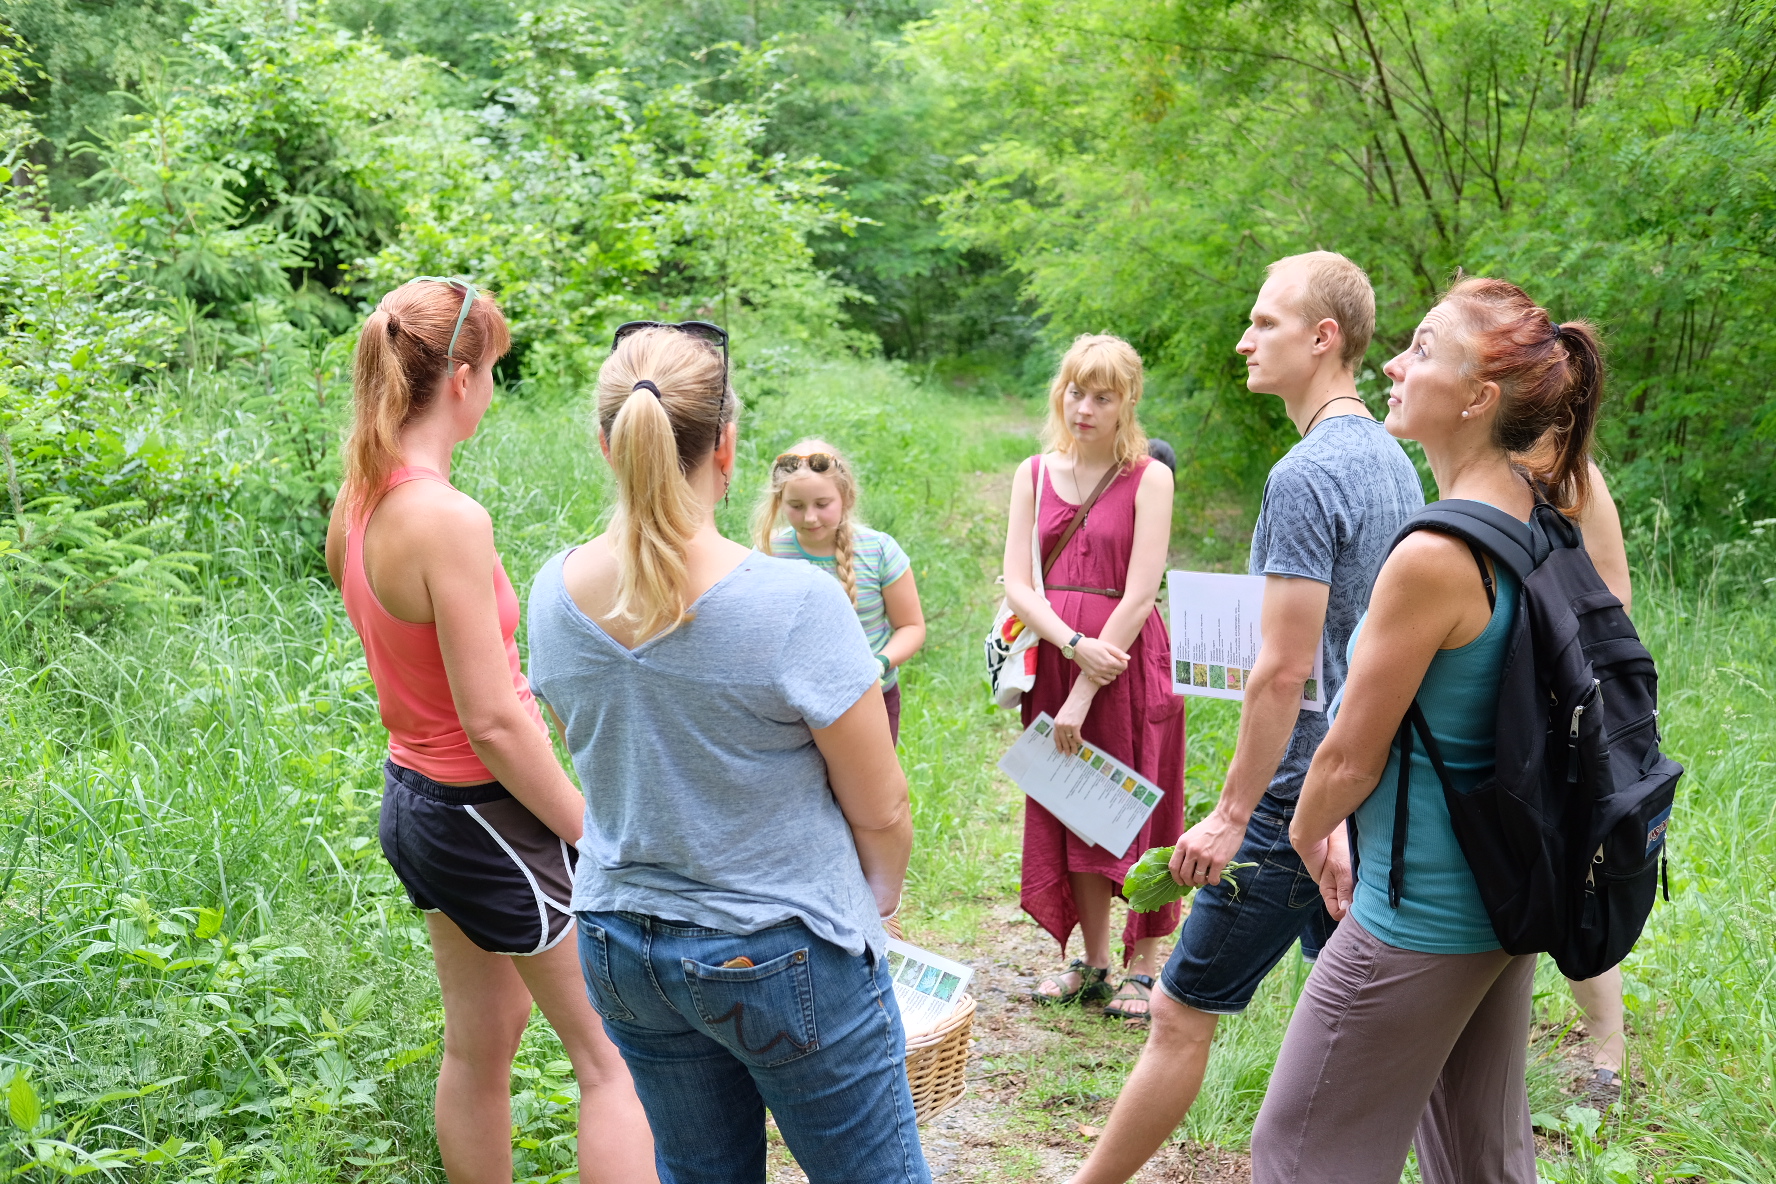
My first Nature Walk was a great success. My fellow Herbal Warriors and I had a great time together identifying medicinal plants and then making infused oils.


After spraying ourselves with Leave Me Alone! Insect Repellent (and some tick spray on our shoes, just to be safe), we headed out armed with plant identification cards that I made specific to this forest, bottled water, gloves and bags fro carrying our harvest.


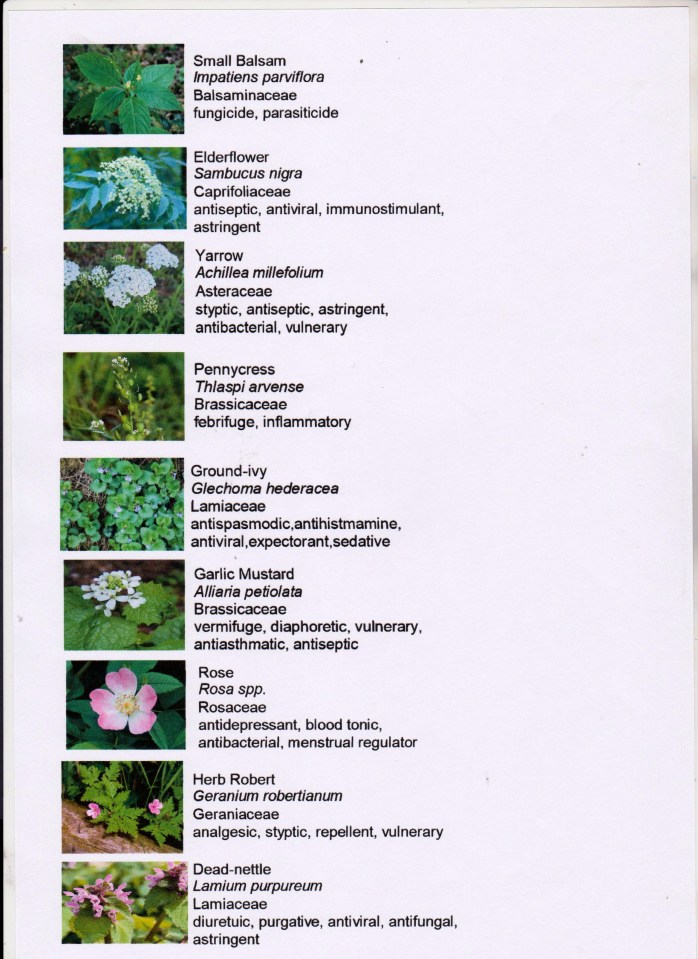
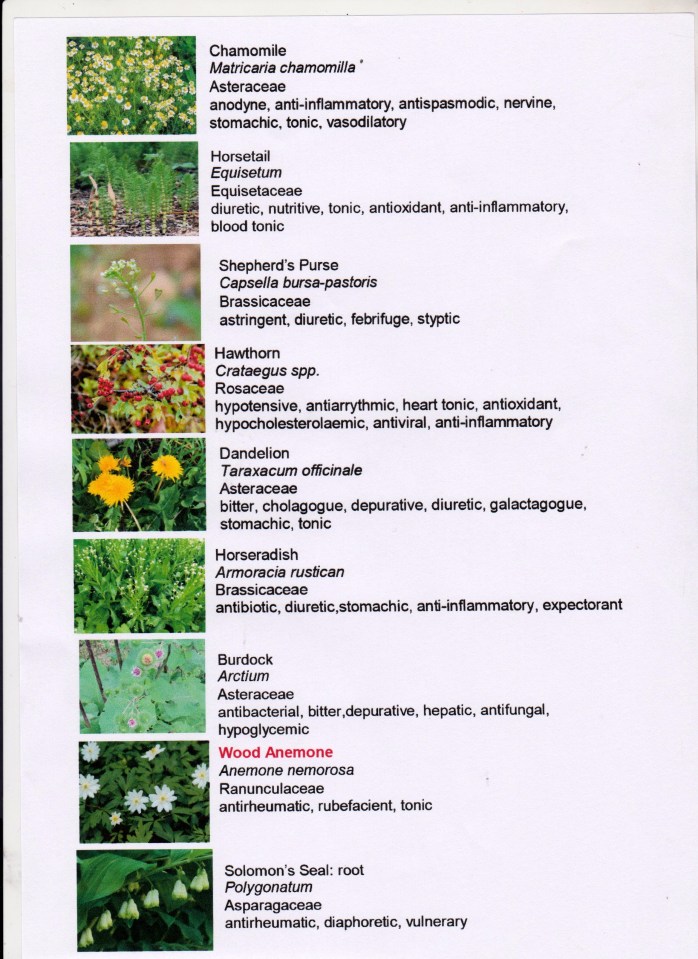
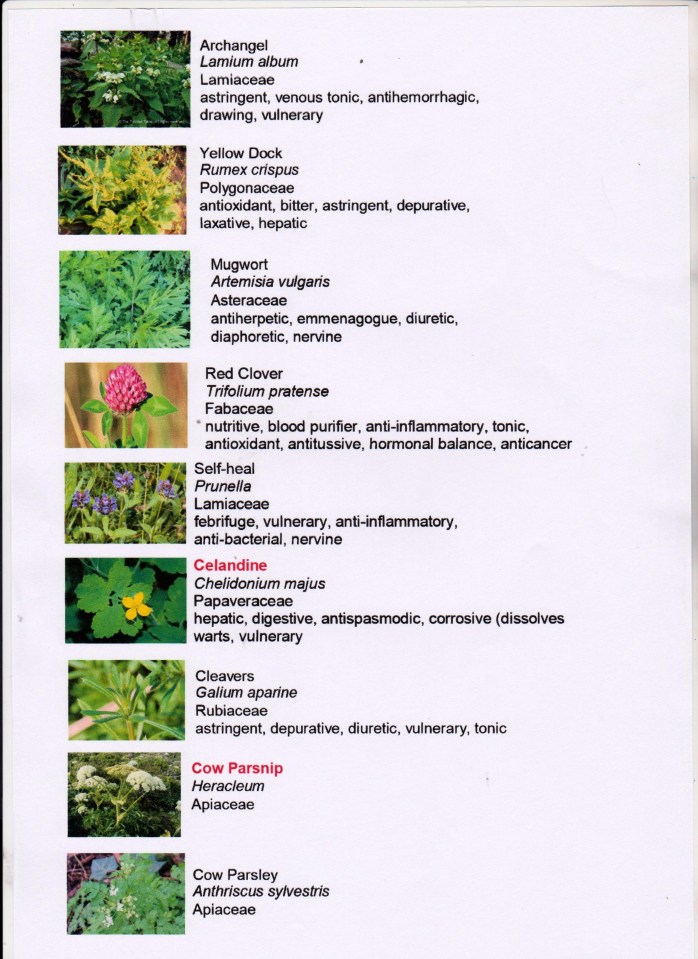
The cards were really useful in aiding our identification of medicinal plants…even some toxic ones.


These lovely girls have found cleavers (Gallium aparine). Super fun!


It was lovely to be out in nature with like-minded people. We shared our personal experiences with these plants and enjoyed being among our fellow creation, humans and plants in synergy.


Afterwards, we were treated to Dan’s fresh-baked strawberry-rhubarb cobbler, all picked freshly that morning, complete with oat flakes he had specially ground for the crumble topping. Thanks, Dan!
Everyone got to choose herbs that we had seen on our walk to make an infused oil to take home. The herbs were ground up in our juicer and then olive oil was added.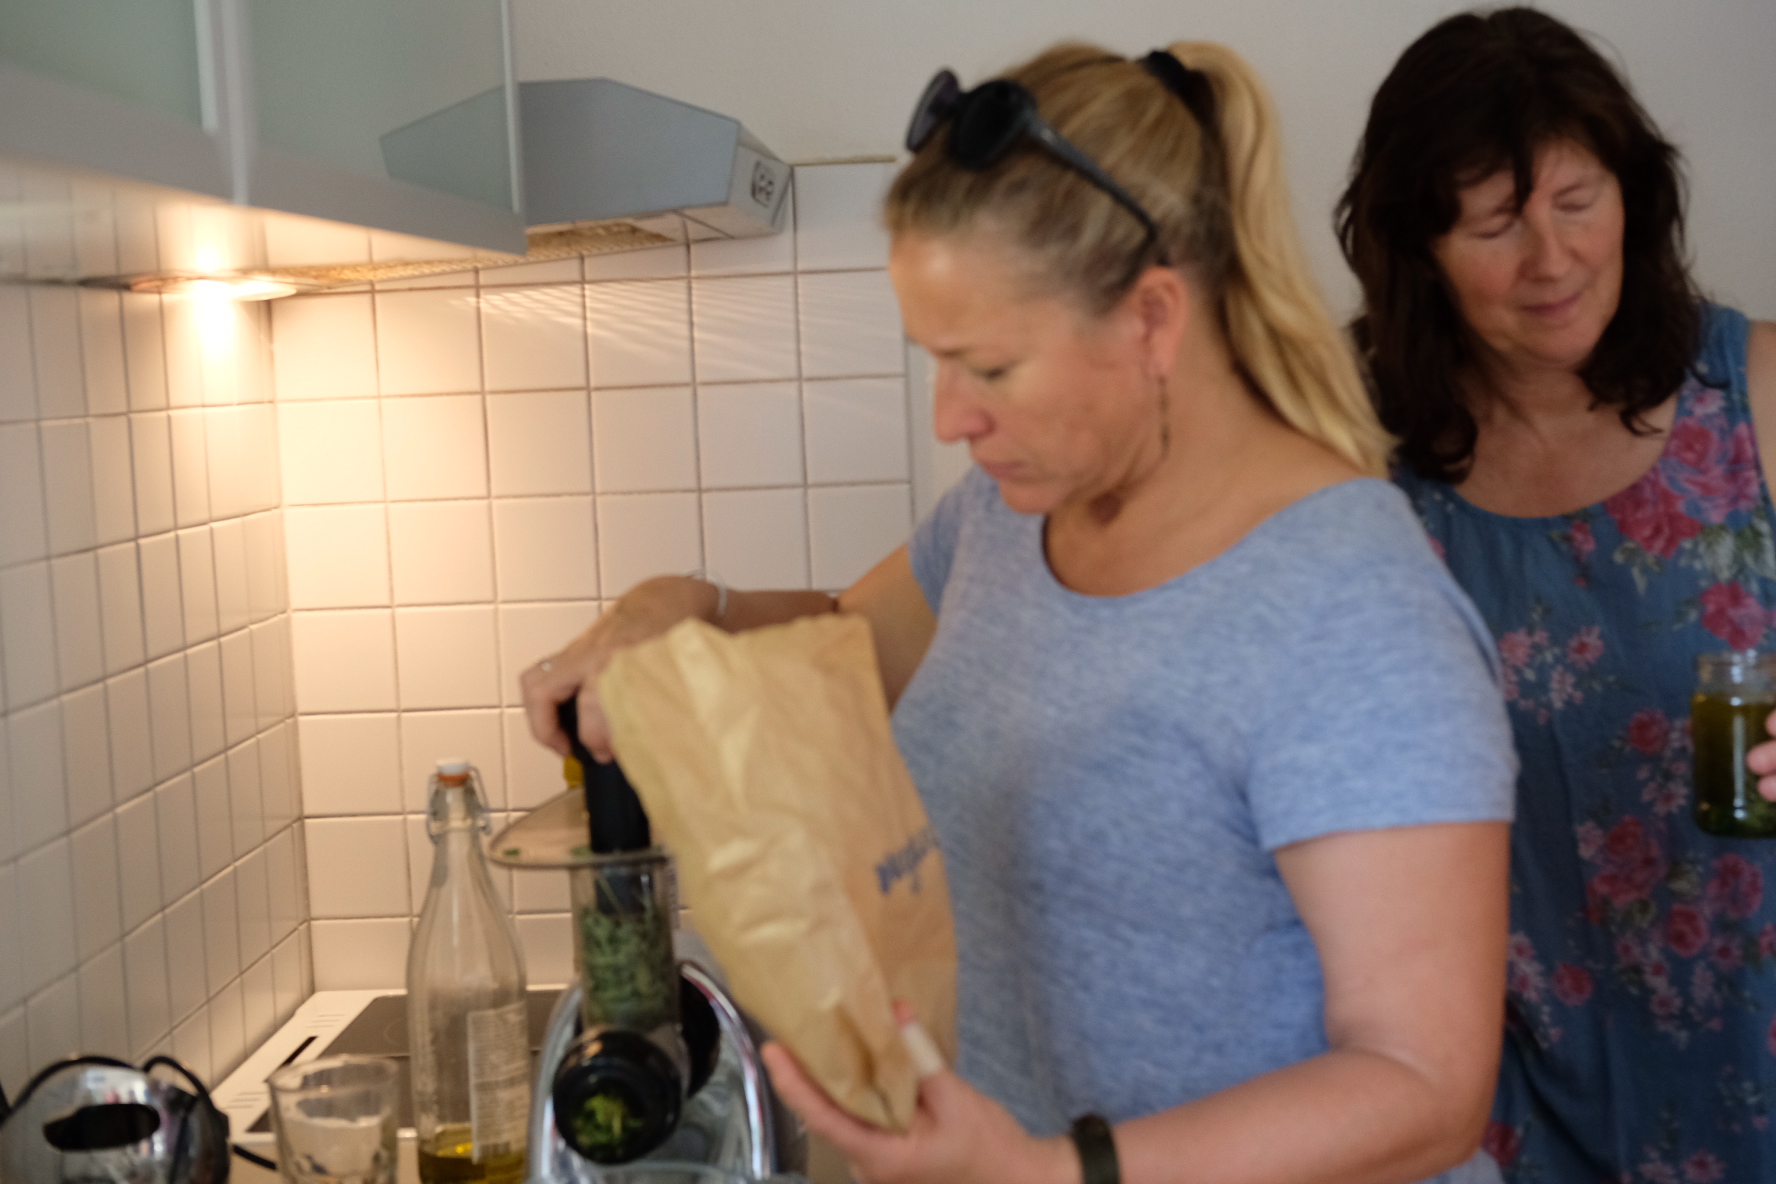
Here are the identification cards I made for our Nature Walk. I should have put them in alphabetical order…this is on my to do list.
My next Nature Walk will highlight late summer plants.