Krista's Herbarium
a collection of herbal remedies, recipes, and reveries
Veins Away Salve: The Sequel

Something that I wanted to create for a few of my clients is a salve that helps with varicose veins and spider veins. A tonifying salve that would lessen the appearance of veins, tonify tissues and relieve pain was the goal. This is the sequel to my Veins Away Salve.
Varicose veins are a result of a lax tissue state and require astringents to tone up tissues thus tightening and shoring up the tissues (in this case, valves) enabling them to function normally.
Why create two salves for the same problem? As discussed in an earlier post, it is part of an herbalist’s job not just to understand plants and their medicinal actions, but to understand the client and what herb is best suited for them. I created these salves in the hopes that one would be able to find the right blend of herbs that would work with their individual composition.
Today’s recipe uses different herbs than Veins Away, yet with similar actions in order to tonify tissues, reduce swelling and relieve pain.
Veins Away II
- 1/3 cup (80 ml) White Willow Bark-infused olive oil
- 1/3 cup (80 ml) Horse Chestnut-infused olive oil
- 1/3 cup (80 ml) Hyssop-infused olive oil
- 1/4 cup (60 g) beeswax
- 15 drops each: geranium and frankincense essential oils
In a double boiler (or a pot nestled in a larger pot filled with a bit of water) over medium heat, add the oils and beeswax.
Stir until the beeswax melts and is fully incorporated.
Remove from the heat and allow to cool for a moment.
Add the essential oils. Stir.
Pour into clean and sterilised jars.
Medicinal Actions:
White Willow Bark (Salix alba): analgesic, anti-inflammatory, astringent, tonic, diuretic, anodyne
Horse Chestnut (Aesculus hippocastanum): astringent, anti-inflammatory, aescin contained strengthens blood vessel walls and enhances their elasticity, contracts blood vessels when used topically
Hyssop (Hyssopus officinalis): diaphoretic, diuretic, astringent, circulatory stimulant, vasodilator
Geranium (Pelargonium graveolens): anti-inflammatory, analgesic, contracts arteries and veins, astringent, tonic
Frankincense (Boswellia serrata): anti-inflammatory, analgesic, antispasmodic
Want to buy it directly from me? Shop here.
Herbal How To: Making a Face Cream

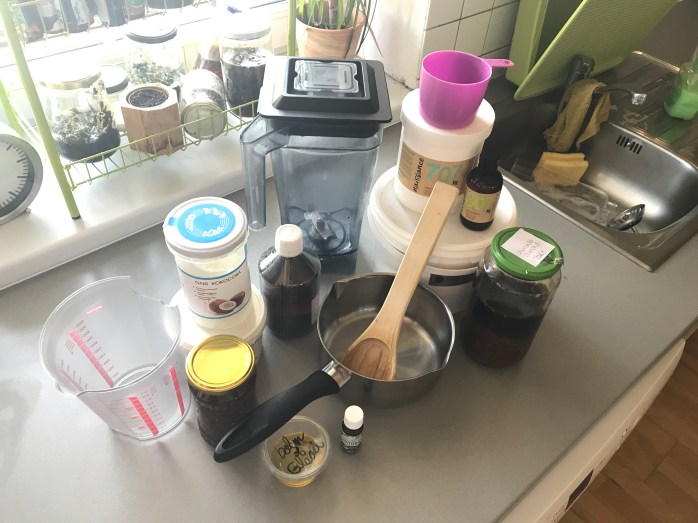
1. Gather your supplies: infused oils, essential oil, shea butter, coconut oil, rose hydrosol, vitamin E, sauce pan, blender, measuring cups


2. Add together 1/2 cup calendula-infused almond oil, 1/4 plus 1/8 cup St John’s Wort-infused almond oil, 1/8 cup Balm of Gilead-infused almond oil in a double boiler on low heat


3. Add in 1/8 c shea butter
4. Add in 1/8 c coconut oil
5. Add in 1/8 c beeswax

6. Once the oils, wax and butters are incorporated, put them in a heat-proof container to cool until slightly solidified

7. Add together 1/4 c aloe vera gel

8. Add in 3/4 c rose hydrosol
9. Add in 10-15 drops vitamin E oil

10. Add in 25 drops lavender essential oil

11. Stir waters together

12. Put cooled oils into blender

13. Start blender on high until the oils create a vortex
14. Pour waters into vortex

15. Blend until mixture ‘chokes’

16. Scrape cream into a container

17. Label and refrigerate
Veins Away Salve

Varicose veins are caused by the dilation and enlargement of veins (known as haemorrhoids when present in the anus). They are often hereditary (thanks, mum) and can also be caused by stagnation of the blood in the veins, aggravated by too much standing, pressure points during pregnancy (thanks, Roxie), not enough exercise, constipation, obesity, shallow breathing and stress.
Varicose veins can be very painful and are often treated with surgery. Dietary changes, exercise and some herbal remedies would be a great first step.
Something that I wanted to create for a few of my clients is a salve that helps with varicose veins and spider veins. A tonifying salve that would lessen the appearance of veins, tonify tissues and relieve pain was the goal. This was the first salve that I created.
It went through a couple of iterations as my processing method improved and as I understood the ratios a bit better.
Varicose veins are a result of a lax tissue state and require astringents to tone up tissues thus tightening and shoring up the tissues (in this case, valves) enabling them to function normally.
According to Kiva Rose:
“Here we are looking for herbs that give tone and help the tissues to hold their form and function efficiently. To tone is to tighten and pull together, thus lessening the permeability of the tissues. Astringents fit the bill perfectly here as they cause the contraction of tissue they come in contact with, and as such help prevent loss of fluids while assisting the organism in proper function wherever there is excessive relaxation/laxity.”
An herbal protocol may consist of applying fresh comfrey poultices, soaking legs or affected areas in a comfrey/calendula tea bath and adding Vitamins E, C and honey to the diet.
Applying this salve daily directly to the varicose or spider veins may help to tone the tissues thus decreasing the varicose veins, it may also help to relieve some of the accompanying pain or discomfort.
Veins Away Salve
- 3/4 cup (180 ml) Yarrow-infused olive oil
- 1/4 cup (60 ml) Comfrey-infused olive oil
- 1/4 cup (60 g) beeswax
- 15 drops each: clary sage, frankincense and cedar essential oils
In a double boiler (or a pot nestled in a larger pot filled with a bit of water) over medium heat, add the oils and beeswax.
Stir until the beeswax melts and is fully incorporated.
Remove from the heat and allow to cool for a moment.
Add the essential oils. Stir.
Pour into clean and sterilised jars.
Medicinal Actions:
Yarrow: astringent, diuretic, vulnerary, anti-inflammatory, analgesic, alterative
Comfrey: analgesic, anti-inflammatory, vulnerary, demulcent, astringent, alterative
Clary Sage: anti-inflammatory, antispasmodic, astringent
Frankincense: anti-inflammatory, analgesic, antispasmodic
Cedar: astringent, sedative, diuretic
Want to buy it directly from me? Shop here.
Tea To The Rescue: Update

Roxie’s migraine really started about two weeks ago and varies in intensity during the day. The last three days she has been on Roxie’s Migraine Tea and it seems to be helping. She drinks about 4-5 cups a day of the blend and a straight Self-heal tea during acute migraines.
We will keep working with this blend. It seems to be doing the trick for now.
Tea To The Rescue

Roxie’s Migraine Tea
– 1 part Self-heal
– 1 part Lemon balm
– 1/2 part Mint
– 1/2 part Calendula
Medicinal Actions:
Self-heal: Tonic, relaxant, restorative, diuretic, digestive, antioxidant, astringent, hemostatic, hypotensive, anti-inflammatory and vulnerary
Lemon balm: Diaphoretic, nervine, antispasmodic, sedative, decongestant, antihistamine
Mint: Nervine, antispasmodic, antiemetic, analgesic
Calendula: Vulnerary, anti-inflammatory, immune stimulant, , antiviral, diaphoretic, lymphatic, antispasmodic
Happy Summer Days!

My husband has mowed a smiley face into our grass for a decade now. At first, the neighbours thought we were nuts. I’m pretty sure they chalked it up to us being the crazy foreigners. Now, I think the smiley brings everyone a bit of summer joy!
This year’s smiley has started growing Self-heal (Prunella vulgaris).


Breathe Easy Tea

Summer’s here and with it comes sunshine, holidays as well as a few unexpected issues.
You’d think that allergy season would have subsided. Not here though, I still see so many people walking around sniffling with red, watery eyes.
Then there is the issue of the change in weather bringing about systemic weakness to our organisms allowing for spring and summer colds and viruses.
To top it off, holiday travel brings certain stressors: jet lag, new microbes and viruses, unusual foods, lack of routine, sudden increase in physical exertion; all of these can lead to a weakened system.
It seems unusual to point out the benefits of this tea outside of cold and flu season or the height of allergy season, yet I have reached for this formula twice in the last week.
My Breathe Easy Tea benefits the upper respiratory system and is a valuable tool when an expectorant or a decongestant is needed. The tannins in these herbs help to extract excess moisture from the tissues.
Breathe Easy Tea
- 1 part Yarrow Achillea millefolium
- 1 part Angelica root Angelica archangelica
- 1 part Eyebright Euphrasia
- 2 parts Mint Mentha (add more to taste, if desired)
Grind the herbs in a mortar and pestle or with a juicer or herb grinder.
Store in a cool, dry, dark place.
1 tablespoon of tea per cup of boiling water, let steep for 5-10 minutes covered.
Dose: 1 cup of tea as needed
Medicinal Actions:
Mint: Decongestant, antispasmodic, anti-inflammatory, analgesic, diaphoretic
Yarrow: diaphoretic, diuretic, astringent, decongestant, expectorant, alterative, analgesic
Angelica Root: diaphoretic, anti-inflammatory, expectorant, alterative
Eyebright: expectorant, astringent, antiviral, decongestant
For other medicinal herbal tea blends see my Loose Leaf Tea Menu.
Self-heal

Prunella vulgaris

Medicinal Notes
The plant has a long history of medicinal use, and traditionally the leaves are applied to wounds to promote healing. According to the 16th-century herbalist John Gerard, ‘there is not a better wounde herbe in the world’. The 17th-century botanist Nicholas Culpeper wrote that the plant is called self-heal because ‘when you are hurt, you may heal yourself’.
According to KewScience:
“Prior to World War II, it was used to staunch bleeding and for treating heart disease. A decoction of the leaves was used to treat sore throats and internal bleeding. It is used as an anti-inflammatory and has anti-allergic activity. In western medicine it is used externally for treating minor injuries, sores, burns, bruises and can also be used as a mouthwash to treat mouth ulcers.
Whereas in European countries herbalists have mainly used selfheal for treating wounds, in Chinese medicine it is mainly used for treating liver complaints, acting as a stimulant in the liver and gall bladder. Self-heal shows antiviral properties, and in China it is used as an anti-cancer drug.:
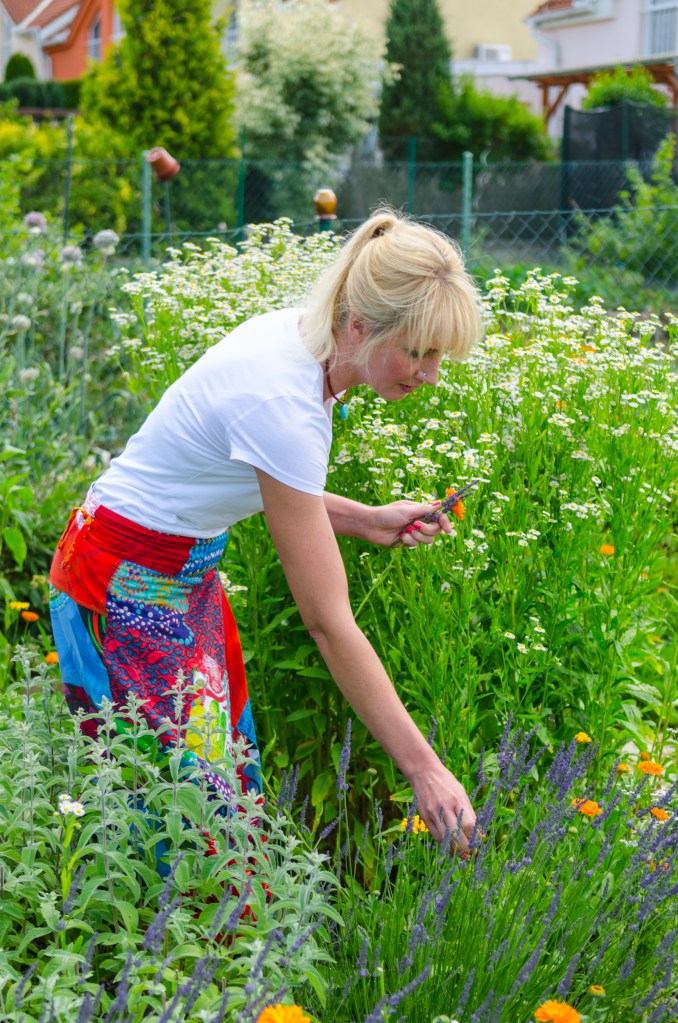
Harvesting
Self-heal is a member of the family Lamiaciae. Prunella vulgaris is a perennial herb, with stems often square, crimson tinged, and erect to decumbent, up to 30 cm tall
According to Show Me OZ:
“To use Heal-All, simply cut the desired amount of stems desired to ground level and avoid pulling up the plant as this effectively kills it. Always avoid harvesting Heal-All from roadsides, pastures, agricultural fields and other sites that may be contaminated with herbicides, pesticides, lead or any number of industrial chemicals because Heal-All is known to readily these chemicals from the soil.”
Constituents
Self-heal contains a wide array of acid compounds including lauric –, oleanolic –, rosmarinic –(antioxidant), linoleic – and ursolic acid. Contains volatile oils (camphor, fenchone), bitters, saponins, tannins, glycoside (aucubin), flavinoids
Uses
Tincture: 1:5; 40% ethanol: 2-4 ml three times a day
Tea: 3g in one day as tea or infusion .
External applications: salve, compress, powder or wash as needed.
It should not be taken in large doses during pregnancy, but it is sometimes appropriate in small doses at that time.
Herbal How To: Lip Balm

Today we’re making Lavender Lip Balm. The recipe stays consistent for all of the variations. Check out my Soothing Lip Balm post for all of the recipes.
 1. Gather supplies (sauce pan, wooden spoon, measuring cup, infused oils, shea butter, beeswax, essential oils, lip balm tubes)


2. Heat 1/4 cup infused oil in a double boiler on low heat (I used lavender-infused almond oil)


3. Add 1/4 cup shea butter
4. Add 1/8 cup beeswax
5. Stir until fully incorporated

6. Add 25-30 drops essential oil (I used lavender)


7. Prepare the lip balm tubes
8. Pour (carefully) into lip balm containers


9. Allow to cool and then apply labels
10. Enjoy!
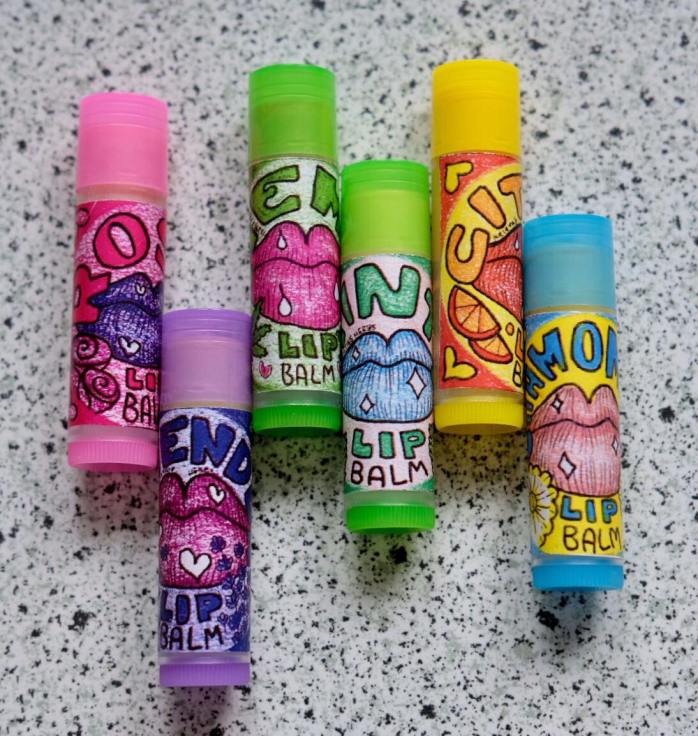 All of these lip balms are available to purchase here.
(Photo credit for the really nice photos: Zeinep Yessenbekova)
Calling All Arborists

While out harvesting, I came upon this unusual Tamarack (?) Larch (thanks, Tony!). I saw several people gathering the succulent baby cones. I wondered for what purpose they could be used.
I am no expert on trees, apart from the few that I use regularly in my herbal remedies. For this, I must rely upon Tony Tomeo. Tony, Can you help me identify this unusual yet ubiquitous (in one part of our forest) conifer? And perhaps shed some light on the uses of their cones?